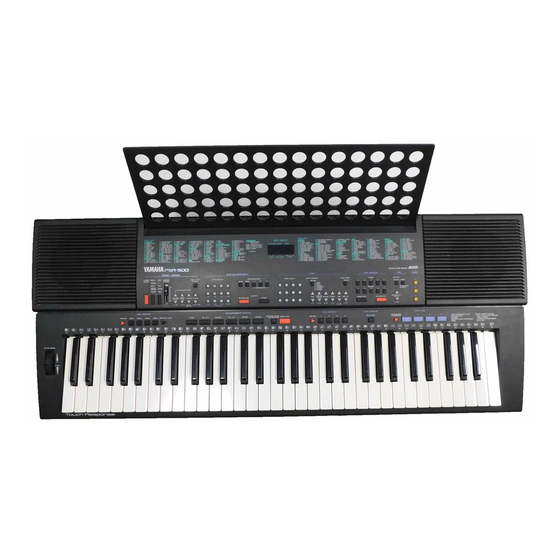
Yamaha PortaTone PSR-500 Panduan Pemilik - Halaman 27
Jelajahi secara online atau unduh pdf Panduan Pemilik untuk Papan Ketik Elektronik Yamaha PortaTone PSR-500. Yamaha PortaTone PSR-500 48 halaman. Yamaha electric keyboard owner's manual
Juga untuk Yamaha PortaTone PSR-500: Panduan Pemilik (48 halaman), Panduan Pemilik (47 halaman), Petunjuk pengoperasian (Bahasa Jerman) (48 halaman)

AUTO HARMONY
Auto Harmony can be used in the SPLIT, SINGLE
FINGER, and FINGERED modes. It automatically adds
appropriate harmony notes to a melody you play on the
keyboard. You can choose from 6 different types of har-
mony.
Use the AUTO HARMONY TYPE
tons to select a harmony type between "1" and "6."
The selected harmony type number will be shown on
the rightmost digit of the MULTI DISPLAY while the
AUTO HARMONY TYPE
Once the desired harmony type has been selected, press
the [AUTO HARMONY ON/OFF] button so that its indi-
cator lights to engage the AUTO HARMONY feature.
PSR-400/PSR-500 Harmony Types
1 DUET
2 TRIO
3 BLOCK
4 COUNTRY
5 OCTAVE
6 STRUM
• The harmony produced is based on the chord played on the left-
hand section of the keyboard in the FINGERED, SINGLE
FINGER, or SPLIT modes. If no chord is detected, no harmony
is produced.
• Only a single note can be played at a time on the keyboard (or
the right-hand section of the keyboard) when the AUTO
HARMONY feature is used.
• The harmony can be muted by playing any three consecutive
notes on the left-hand section of the keyboard.
• Although a single note or an interval of a fifth can be used to
produce FINGERED mode auto accompaniment, these are not
recognized in the SPLIT mode.
• If AUTO HARMONY is used at the same time as the DUAL
feature (see page 24), harmony will not be applied to the second
"dual" voice.
• If AUTO HARMONY is used at the same time as the SPLIT
feature (see page 23), harmony will be not be applied to the left-
hand voice.
and
but-
or
button is pressed.
FEATURE REFERENCE
VOICE MEMORY
The PSR-400/PSR-500 VOICE MEMORY can be used
to store 4 different sets of voice combinations — i.e.
main, dual, and split voices — that can then be recalled
simply by pressing a single button.
Recording
Make the desired voice settings in the normal, dual, and
split modes, then press one of the VOICE MEMORY
buttons — [1] through [4] — while holding the
[RECORD] button. The corresponding indicator will light
indicating that the data has been memorized.
Recall
To recall a VOICE MEMORY setting simply press the
appropriate VOICE MEMORY button. The corresponding
indicator will light and the required voice settings will be
recalled. If you press the same VOICE MEMORY button
a second time, its indicator will go out and the previous
voice settings will be recalled.
• VOICE MEMORY recall operations can be recorded using the
Custom Accompaniment, Song Memory (Melody), and Multi Pad
(PSR-500) features. If the contents of the voice memory are
changed while any of these are being played back, the new
voices will take effect from the next time playback is started.
VOICE MEMORY data will be retained in memory
even when the PSR-400/PSR-500 power is turned off
as long as a full set of good batteries is present or an
AC power adaptor remains connected (see "PAGE
MEMORY" on page 13 for more details).
When a VOICE MEMORY has been recorded, be sure
to store the new data to a PAGE MEMORY (see page
13). If this is not done the newly recorded VOICE
MEMORY data will be lost when a different PAGE
MEMORY is selected.
(VOICE)
25
