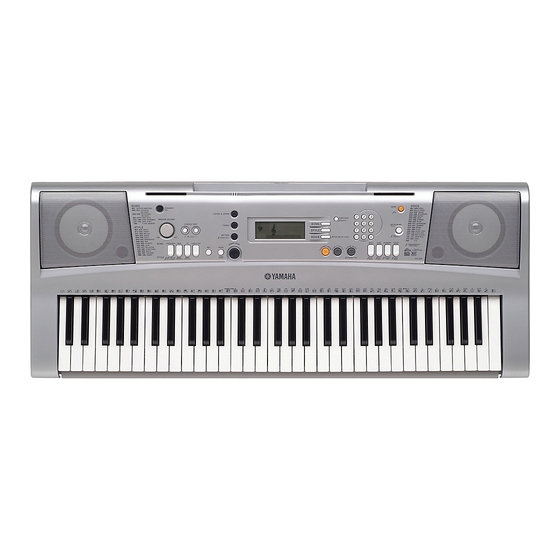
Yamaha Portatone YPT-300 Panduan Servis - Halaman 9
Jelajahi secara online atau unduh pdf Panduan Servis untuk Papan Ketik Elektronik Yamaha Portatone YPT-300. Yamaha Portatone YPT-300 36 halaman.

7.
Lower Case Keyboard Assembly
(Time required: About 2 minutes)
7-1
Remove the lower case assembly. (See procedure 1)
7-2
Remove the two (2) screws marked [240C] and
screw marked [270B]. The lower case keyboard
assembly can then be removed. (Fig. 2)
8.
Keyboard Assembly
8-1
Remove the lower case keyboard assembly.
(See procedure 7)
8-2
White and black keys for one octave unit are
integrated as a set. There are five sets in total.
Remove the four (4) screws marked [200A]. The
keyboard can then be removed. (Fig. 5) There are
two (2) hooks at the back of the black keys. (Photo.1)
Press the hook for the black key and lift a little, and
pull forward to remove the hook for the black key to
lift it.
8-3
To remove the white key C6, remove the screw
marked [200B], press the hook at the back to lift a
little, and pull forward to remove the hook to lift it.
(Fig. 5)
9.
Rubber Contact
9-1
Remove the lower case keyboard assembly.
(See procedure 7)
9-2
Remove the keyboard corresponding to the rubber
contacts to be removed. (See procedure 8)
9-3
Remove the rubber contacts. (Photo. 2)
<Lower case keyboard assembly>
Top view
[200A]
C1
Hook
[200A]
[200A]
B2
[200]: Bind Head Tapping Screw-P 3.0X20 MFZN2Y (EP600680)
(Photo.1)
10.
Circuit Board 61L, Circuit Board 61H
10-1
Remove the lower case keyboard assembly.
(See procedure 7)
10-2
Circuit Board 61L
(Time required: About 6 minutes)
10-2-1 Remove the keyboards from C1 to B3.
(See procedure 8)
10-2-2 Remove the four (4) screws marked [180A], and
eight (8) screws marked [190A]. The circuit board
61L can then be removed. (Fig. 6-1)
∗
When installing the circuit board 61L, tighten the
screws 1 through 12 in numerical order. (Fig. 6-2)
10-3
Circuit Board 61H
(Time required: About 5 minutes)
10-3-1 Remove the keyboards from C4 to C6.
(See procedure 8)
10-3-2 Remove the three (3) screws marked [180B], and
five (5) screws marked [190B]. The circuit board 61H
can then be removed. (Fig. 6-1)
∗
When installing the circuit board 61H, tighten the
screws 1 through 8 in numerical order. (Fig. 6-2)
[200A]
[200A]
B3 C4
(Fig.5)
Rubber Contact
PSR-E303/YPT-300
[200A]
[200B]
C6
(Photo.2)
9
