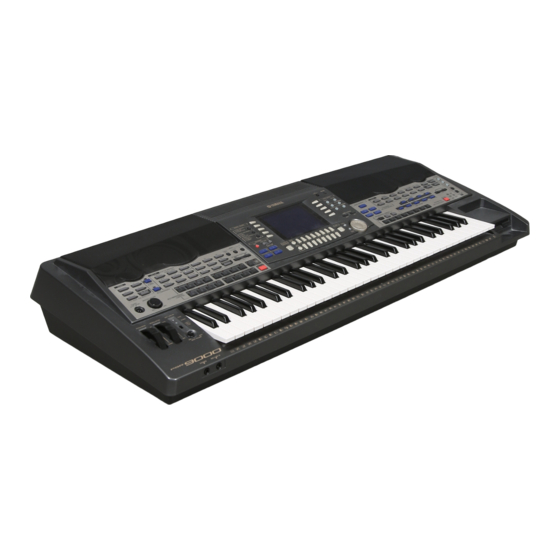
Yamaha PSR-9000 Version 2 Panduan Pemilik - Halaman 5
Jelajahi secara online atau unduh pdf Panduan Pemilik untuk Papan Ketik Elektronik Yamaha PSR-9000 Version 2. Yamaha PSR-9000 Version 2 35 halaman. Version 3 and version 2 upgrade

4.
Use the LCD [2] ~ [7] buttons to select the types of data you want to back up.
5.
Press the [NEXT] button and, when applicable, use the LCD [1]/[2] buttons to select
the disk you want to back up to (if you're backing up to floppies a blank floppy disk
which is not write protected must be present in the floppy disk drive). If you choose to
back up to hard disk, you may also need to select the directory to which the data will
be saved.
4.
1
2
6.
Press the [NEXT] button and enter an appropriate name for your backup file.
7.
Press the [NEXT] button and then the LCD [G] button (OK) to save the selected data to
the specified disk.
6.
PAGE CONTROL
BACK
NEXT
After installing the new software you can use the Restore function to reload the saved data.
page 130
page 154
Individual Flash Styles
If you only have a few Flash Styles you need to back up, the "All Data" method described above
might not be what you need. Here's how you can backup individual Flash Styles, or a group of
Flash Styles as required.
This backup option uses the Save Style From Flash ROM function.
page 63
page 75
3
4
5
6
7
8
PAGE CONTROL
BACK
2. Important! – Backup Before Installation
2. Important! – Backup Before Installation
5.
PAGE CONTROL
BACK
NEXT
1
2
3
7.
NEXT
4
5
6
7
8
F
G
H
I
J
5
