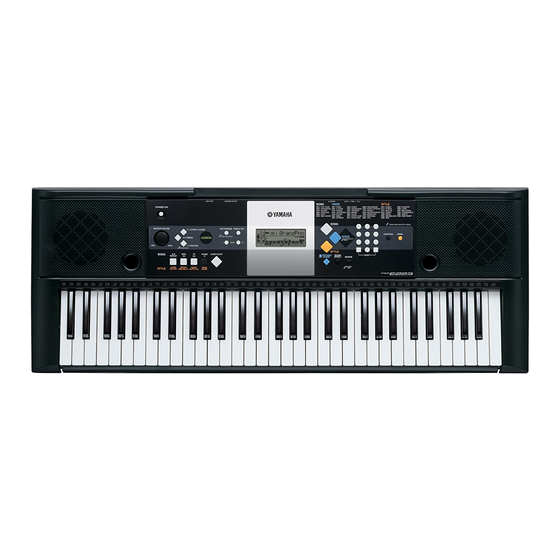
Yamaha YPT-220 Manual - Halaman 11
Jelajahi secara online atau unduh pdf Manual untuk Papan Ketik Elektronik Yamaha YPT-220. Yamaha YPT-220 41 halaman. Yamaha psr-e223 (ypt-220) digital keyboard data list
Juga untuk Yamaha YPT-220: Daftar Data (3 halaman)

2-3
LCD
2-3-1 Remove the rubber connector and LCD holder A.
The LCD can then be removed. (Fig. 4)
*
When attaching the rubber connector, set the
conductive part to face inside. (Fig. 4)
3.
PNAM Circuit Board (1/3, 2/3, 3/3)
3-1
Remove the lower case assembly. (See procedure 1)
3-2
PNAM Circuit Board 3/3
(Time required: About 2 minutes)
3-2-1 Remove the knob from the control panel surface.
(Fig. 1, Fig. 5)
3-2-2 Remove the three (3) screws marked [380B]. The
PNAM circuit board 3/3 can then be removed. (Fig. 2)
3-3
PNAM Circuit Board 1/3
(Time required: About 3 minutes)
3-3-1 Remove the PNAM circuit board 3/3.
(See procedure 3-2)
3-3-2 Remove the sixteen (16) screws marked [380C].
The PNAM circuit board 1/3 can then be removed.
(Fig. 2)
3-4
PNAM circuit board (2/3)
(Time required: About 3 minutes)
3-4-1 Remove the thirteen (13) screws marked [380D].
The PNAM circuit board 2/3 can then be removed.
(Fig. 2)
4.
Speaker
(Time required: About 3 minutes)
4-1
Remove the lower case assembly. (See procedure 1)
4-2
Remove the four (4) screws marked [370]. The
speaker can then be removed. (Fig. 2)
*
The right and left speakers can be removed in the
same manner.
5.
Lower Key Bed Assembly
(Time required: About 2 minutes each)
5-1
Remove the lower case assembly. (See procedure 1)
5-2
Remove the two (2) screws marked [80B]
and screw marked [100B]. The lower key bed
assembly can then be removed. (Fig. 2)
*
When attaching the MK connector assembly
(DMLCD circuit board: CN501), insert or pull the MK
connector assembly while pressing the both side
portions of the connector downward. (Fig. 3)
2-3
液晶ディスプレイ
2-3-1 ゴムコネクターと LCD ホルダー A を外して、液
晶ディスプレイを外します。 (図 4)
※
ゴムコネクタ−を取り付けるときは導電部を内側にして
ください。 (図 4)
3.
PNAM シート(1/3、2/3、3/3)
3-1
下ケース Ass y を外します。 (1 項参照)
PNAM シート 3/3(所要時間:約 2 分)
3-2
3-2-1 コントロールパネル面から V ツマミを外します。
(図 1、図 5)
3-2-2 [380B]のネジ 3 本を外して、PNAM シート 3/3
を外します。 (図 2)
3-3
PNAM シート 1/3(所要時間:約 3 分)
3-3-1 PNAM シート 3/3 を外します。 (3-2 項参照)
3-3-2 [380C]のネジ 16 本を外して、PNAM シート 1/3
を外します。 (図 2)
3-4
PNAM シート 2/3(所要時間:約 3 分)
3-4-1 [380D]のネジ 13 本を外して、PNAM シート 2/3
を外します。 (図 2)
Fig.5 ( 図5)
4.
スピーカ
(所要時間 : 約 3 分)
4-1
下ケース Ass y を外します。 (1 項参照)
4-2
[370]のネジ 4 本を外して、スピーカを外します。
(図 2)
※
左右のスピーカは同じように外せます。
5.
下ケース鍵盤 Ass y
5-1
下ケース Ass y を外します。 (1 項参照)
5-2
[80B] のネジ 2 本と、 [ 100B] のネジ 1 本を外して、
下ケース鍵盤 Ass y を外します。 (図 2)
※
MK 線材(DMLCD シート:CN501)の取り付け、取り
外しは、コネクタの両脇を下に押しながら MK 線材を抜
き差しします。 (図 3)
PSR-E223/YPT-220
KNOB
(Vツマミ)
(所要時間 : 各約 2 分)
11
