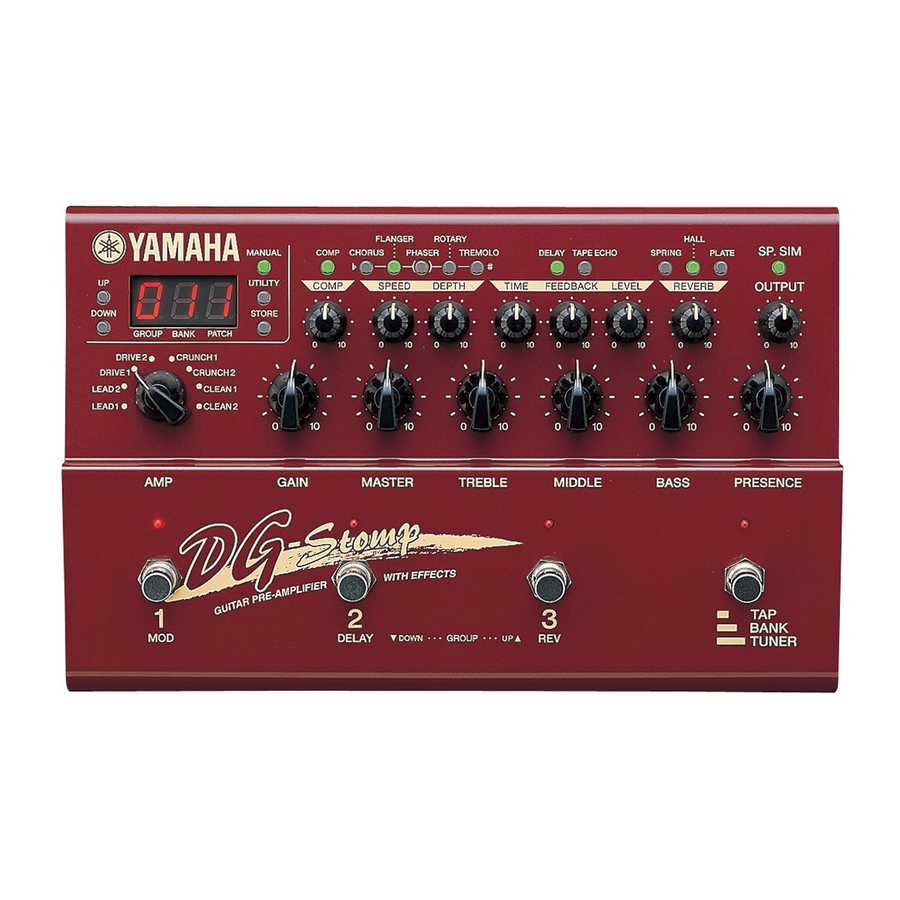
Yamaha DG-Stomp Panduan Pemilik - Halaman 25
Jelajahi secara online atau unduh pdf Panduan Pemilik untuk Penguat Yamaha DG-Stomp. Yamaha DG-Stomp 32 halaman. Guitar pre-amplifier with effects
Juga untuk Yamaha DG-Stomp: Panduan Tambahan (1 halaman), Panduan Servis (43 halaman)

To send a single USER AREA patch (data) with
the Bulk Out operation.
After pressing the [SPRING] button, select the patch
number you want to send with the bulk out. Just as
in selecting a patch number in the Play Mode, use
the [UP]/[DOWN] buttons or the foot switches to
select the patch.
After selecting a patch, press the [STORE] button
to carry out the MIDI Bulk Out operation with a single
patch.
* After transmitting the data the device will return to the previ-
ous condition, ready to select another patch number.
About the MIDI Bulk In
This operation is used to return data stored in an
external MIDI device such as the YAMAHA MDF3,
etc., to the DG-Stomp.
Use a MIDI cable to connect the MIDI OUT jack on
the external MIDI device to the DG-Stomp's MIDI
IN jack.
When Bulk Out data is sent from the external de-
vice, the DG-Stomp will receive the bulk data.
* Use the DG-Stomp's Play Mode to receive MIDI Bulk In data.
When the MIDI Bulk In is carried out, the con-
tents of the patches in the USER AREA will
be rewritten.
Please make sure any important data is saved
before carrying out the MIDI Bulk In opera-
tion.
External Control Settings
Just as in the [External Control Settings] section on
page 21, these settings are used to control the DG-
Stomp's volume, tone and effect parameters from a
foot controller that is connected to the EXP. PEDAL
jack or a MIDI device that is connected to the MIDI
In jack.
Press the [UTILITY] button then set the Amp Select
CtL
switch to DRIVE1 ("
play).
External Control's Operating Mode Setting
Press the [COMP] button and use the [UP]/[DOWN]
buttons to select an Operating Mode for the exter-
nal control.
GLb
•
: The external control setting in the Utility
Mode is always available.
PrG
•
: The external control setting that is set in
the patch is available.
oFF
•
: The external control is always OFF.
Set the External Control Number
Press the [CHORUS] button and use the [UP]/
[DOWN] buttons to set a control number (
* Refer to [External Control Settings] (page 21)
Set the External Controller
Press the [FLANGER] button and use the [UP]/
[DOWN] buttons to select the type of controller (
1
31
64
95
-
,
-
).
* Refer to [External Control Settings] (page 21)
Set the Parameter to be Controlled
Press the [PHASER] button and use the [UP]/
[DOWN] buttons to select the parameter to be con-
UUH
trolled (
-).
* Refer to [External Control Settings] (page 21)
Set the Parameter's Minimum Value
Press the [ROTARY] button and use the [UP]/
[DOWN] buttons to set the parameter's minimum
value (the parameter's value when the controller is
0. 0
10. 0
set to its minimum:
-
* Refer to [External Control Settings] (page 21)
Set the Parameter's Maximum Value
Press the [TREMOLO] button and use the [UP]/
[DOWN] buttons to set the parameter's maximum
value (the parameter's value when the controller is
0. 0
set to its maximum:
-
* Refer to [External Control Settings] (page 21)
Utility Mode
" will appear on the dis-
1
8
-
).
EP
).
10. 0
).
,
25
