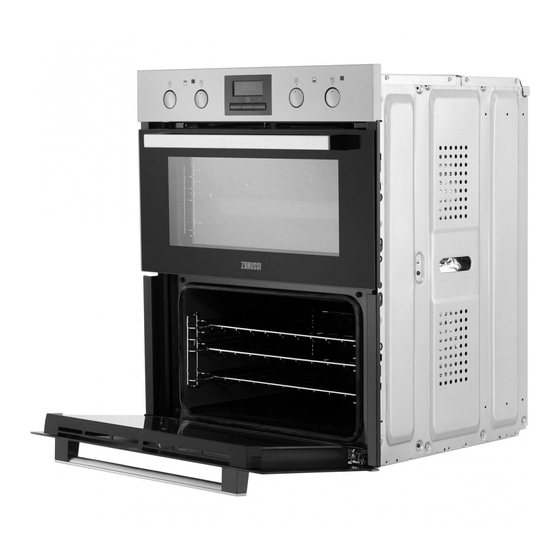
Zanussi ZOF35802XK Panduan Pengguna - Halaman 18
Jelajahi secara online atau unduh pdf Panduan Pengguna untuk Oven Zanussi ZOF35802XK. Zanussi ZOF35802XK 25 halaman. Built-under double oven
Juga untuk Zanussi ZOF35802XK: Panduan Pengguna (25 halaman)

STAINLESS STEEL OR ALUMINIUM OVENS
Clean the oven door with a damp cloth or sponge
only. Dry it with a soft cloth.
Do not use steel wool, acids or abrasive materials
as they can damage the oven surface. Clean the
oven control panel with the same precautions.
REMOVING THE SHELF SUPPORTS
To clean the oven, remove the shelf supports.
CAUTION! Be careful when you
remove the shelf supports.
1. Pull the front of the shelf support away from the
side wall.
2. Pull the rear end of the shelf support away from
the side wall and remove it.
1
Install the removed accessories in the opposite
sequence.
CATALYTIC CLEANING
The cavity with a catalytic coating is self-cleaning. It
absorbs fat.
Before you turn on the catalytic cleaning:
•
remove all the accessories and removable shelf
supports.
•
clean the oven floor with warm water and mild
detergent.
•
clean the inner door glass with warm water and
soft cloth.
1. Set the function
2. Set the oven temperature to 250 °C and let the
oven operate for 1 hour.
3. Turn off the oven.
4. When the oven cools down, clean the cavity
with a wet soft cloth.
18
2
.
Spots or discolouration of the catalytic coating
have no effect on Catalytic cleaning.
REMOVING AND INSTALLING THE DOOR
You can remove the door and the internal glass
panels to clean it. The number of glass panels is
different for different models.
WARNING! The door is heavy.
1. Open the door fully.
2. Fully lift up the clamping levers (A) on the two
door hinges.
A
3. Close the door until it is at an angle of
approximately 45°.
45°
4. Hold the door with one hand on each side and
pull it away from the oven at an upwards angle.
5. Put the door with the outer side down on a soft
cloth on a stable surface.
6. Hold the door trim (B) on the top edge of the
door at the two sides and push inwards to
release the clip seal.
2
B
A
1
