Directed Xpresskit DBALL2 Panduan Instalasi - Halaman 3

Jelajahi secara online atau unduh pdf Panduan Instalasi untuk Dengan kunci Directed Xpresskit DBALL2. Directed Xpresskit DBALL2 14 halaman. Ford5 remote start ready (rsr) installation
Juga untuk Directed Xpresskit DBALL2: Panduan Instalasi (12 halaman), Panduan Instalasi (19 halaman), Panduan Instalasi (18 halaman), Manual (14 halaman), Panduan Instalasi (13 halaman), Panduan Instalasi (19 halaman), Panduan Instalasi (16 halaman), Panduan Instalasi (20 halaman), Panduan Instalasi (15 halaman), Panduan Instalasi dan Referensi Cepat (16 halaman), Panduan Instalasi (18 halaman), Panduan Instalasi (16 halaman), Panduan Instalasi (18 halaman), Panduan Instalasi (16 halaman), Manual (19 halaman)
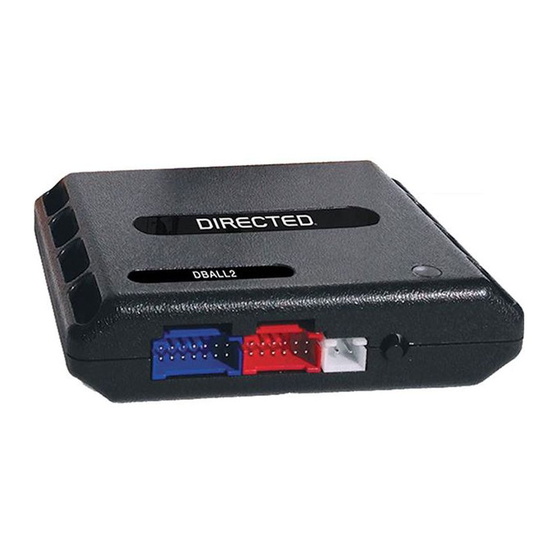
Directed Xpresskit DBALL2 Panduan Instalasi
Platform: DBALL/DBALL2
Firmware:
CHRYSLER6 Range Extender Ready (RXT) Installation

Installation without T-Harness

(-) Ground, pin 4
CAN C High: Gray/White, pin 6,
CAN IHS High:
Gray, pin 3
1
9
[1] If grounded, the vehicle will NOT start.
With the exception of the OBDII Diagnostic connector, all connectors are displayed from the wire side.
OBDII
8
Diagnostic
Connector
16
HS CAN High: Tan/Black: 3
HS CAN Low: Tan: 4
HS CAN2 High: Orange/Green: 5
HS CAN2 Low: Orange/Brown: 6
(+) 12V: Red: 13
(-) Ground: Black: 14
RF
Prog. Button
LED
Rev.: 20150827
DBALL/
DBALL2
You can connect to either a XL202
RFTD OR a SmartStart module.
Refer to the SmartStart/XL202
Installation Notes for more information.
© 2015 Directed. All rights reserved.
Page 3