Blackberry Radar H2 Panduan Instalasi - Halaman 12

Jelajahi secara online atau unduh pdf Panduan Instalasi untuk Radar Blackberry Radar H2. Blackberry Radar H2 28 halaman. Dry van, insulated trailers roll-up doors
Juga untuk Blackberry Radar H2: Panduan Instalasi (33 halaman), Panduan Instalasi (26 halaman), Panduan Instalasi (25 halaman), Panduan Instalasi (32 halaman), Panduan Instalasi (30 halaman), Panduan Instalasi (33 halaman), Panduan Instalasi (34 halaman), Panduan Instalasi (35 halaman), Buku Petunjuk (33 halaman), Panduan Instalasi (32 halaman), Panduan Instalasi (26 halaman), Panduan Instalasi (25 halaman)
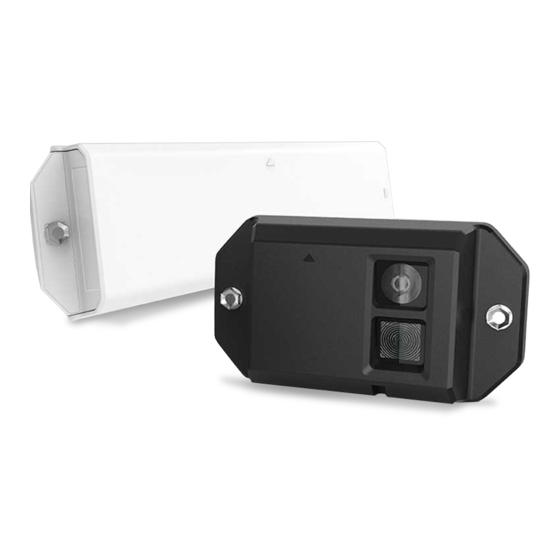
Blackberry Radar H2 Panduan Instalasi
BLACKBERRY RADAR H2 ITC100-1, ITC100-2, ITF100-1 INSTALLATION GUIDE
3. Remove the battery connector from the connector recess and connect the battery cable
to the battery connector. The LED will blink to indicate the module is active. NOTE: It can
take between 20-30 seconds for the blink sequence to begin. Please be patient. Once you
see the LED blink, you may continue to the next step.
IMPORTANT: When connecting the battery cable to the battery connector, do not
remove the Battery Connector Retaining Foam Retaining Tab or place the tab outside of
the battery connector opening area. The Battery Connector Retaining Foam Retaining Tab
is designed to fit within the battery connector opening area and provide
a secure fit for the battery connector latch. Please refer to the following images for the
proper orientation of the Battery Connector Retaining Foam Retaining Tab once the
battery cable is connected to the battery connector.
Correct Installation:
Battery Connector Retaining Foam
Retaining Tab inside of battery
connector opening
FLATBED AND HEAVY EQUIPMENT
LED
Incorrect Installation:
Battery Connector Retaining Foam
Retaining Tab outside of battery
connector opening
12