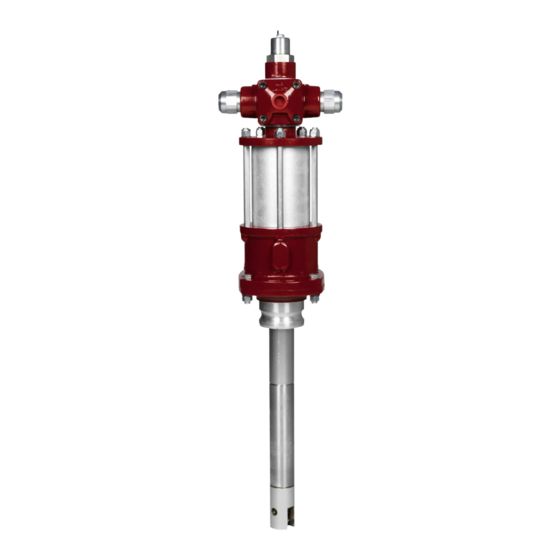
Alemite 7730 Panduan Servis - Halaman 12
Jelajahi secara online atau unduh pdf Panduan Servis untuk Pompa Air Alemite 7730. Alemite 7730 14 halaman. High-pressure bulk grease pump

SER 7730
IMPORTANT: If a primer is used with Loc-
tite 222, the curing time is greatly reduced.
43. Screw Pump Tube (28) onto Adapter (44)
[with Loctite 222]. See Figure 2-B.
• Follow the thread sealant manufacturer's
recommendations.
• Do not tighten at this time.
44. Screw Primer Body (51) [with Loctite 222] into the
opposite end of the Adapter. See Figure 2-B.
• Follow the thread sealant manufacturer's
recommendations.
• Do not tighten at this time.
45. Screw Jam Nut (23) onto the Pump Tube.
46. Push on Plate (49) to expose Coupling (26) from the
Pump Tube as necessary.
Attach Pump Tube to Air Motor
47. Screw the Coupling onto the air motor piston rod until
the Spring Clip holes align.
• Rotate the entire pump tube assembly.
48. Install the Spring Clip.
49. Screw the pump tube assembly into Body (12).
50. Place a large wrench or other suitable tool into the slot
of Primer Body (51).
• Tighten all the components of the assembly securely.
Crush all gaskets.
51. Tighten the Jam Nut.
52. Install O-Ring (24) into Camlock Adapter (25).
IMPORTANT: Lightly coat the inside diame-
ter of the O-Ring with grease.
53. Install the Camlock Adapter onto Air Motor
Assembly (3).
• Use care when O-Ring passes Body (12).
54. Install Screws (6), Lockwashers (7), and Nuts (8) that
secure the Camlock Adapter to the Air Motor
Assembly.
• Tighten the Screws securely in an crisscross pattern.
Bench Test
1. Make sure air pressure at the regulator reads zero.
2. Install air Connector (4) to the inlet of the air motor.
3. Connect Air Coupler (5) to the Connector.
Revision (8-01)
High-Pressure Bulk Grease Pump
4. Slowly supply air pressure [not to exceed 20 psi
(1.4 Bars] to the pump's motor.
• The pump assembly should cycle.
If the pump assembly does not cycle, refer to the
Troubleshooting Chart for details.
With air pressure at zero:
5. Connect a product hose to the pump's material outlet.
• Direct the hose into an appropriate collection
container.
6. Place the pump in oil.
7. Slowly supply air pressure to the pump's motor.
8. Allow the pump to cycle slowly until the system and
oil is free of air.
If the pump assembly does not prime, refer to the
Troubleshooting Chart for details.
WARNING
Should leakage occur anywhere within the
system, disconnect air to the motor. Personal
injury can occur.
With air pressure at zero:
9. Attach a control valve to the outlet hose of the pump.
10. Set the air pressure to 100 psi (6.9 Bar).
11. Operate the control valve into a container.
12. Allow the pump to cycle until the system and oil is
once again free of air.
13. Shut off the control valve.
• Visually inspect the pump for external leaks.
• The pump should not cycle. *
If the pump does not adequately stall, refer to the
Troubleshooting Chart for details.
14. Check the motor for air leakage.
If the motor leaks, refer to the Air Motor Service
Guide for details.
* A pump that does not completely stall with oil does
not necessarily mean that it will not stall with grease.
12
Alemite Corporation
