Alemite 7783 Series Manual Petunjuk Servis - Halaman 6
Jelajahi secara online atau unduh pdf Manual Petunjuk Servis untuk Pompa Air Alemite 7783 Series. Alemite 7783 Series 10 halaman. Low pressure fluid lubricant pumps
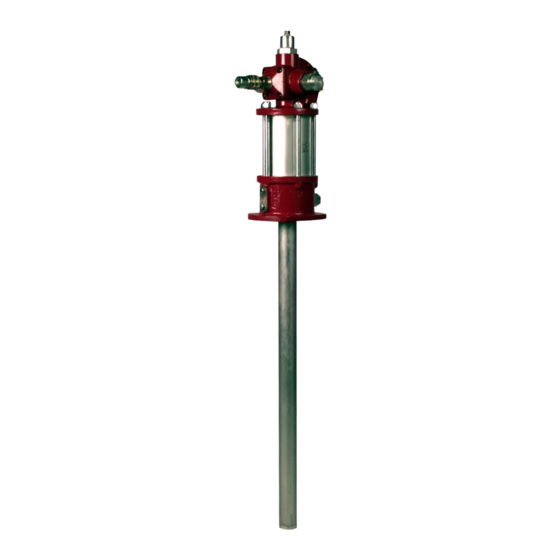
SER 7783-A4
5 From bottom of body, remove gasket 323693, washer 332465, sec-
ond gasket 323693 and spacer 332466.
6 Early. models: remove the bearing, four packings, the lantern ring,
two packings and block "V" packing through the bottom of body
NOTE: Early models using this old style of packings must be changed
to the urethane seal design in repair kits 393040-1 or 398986-2.
Later Models:
Remove washer 337361, seal 172190-6, lantern ring 337362, seal
172190-5, spacer 337363, and "0" ring 171009-13 through bottom of
body.
NOTE: At reassembly, lips of seals 172190-5 and 172190-6 must face
downward as shown in Figure 3A.
7 Clean and inspect all parts for wear and damage.
8 Reassemble by reversing the above steps.
D. SERVICING PUMP TUBE ASSEMBLY:(Figures 4 & 5)
1 If you have not already done so, disconnect pump tube from air mo-
tor as previously described in "SEPARATING PUMP TUBE FROM
AIR MOTOR"section of SERVICE.
2 Grab upper coupling 323439 and pull upward until contents of pump
tube is removed from cylinder 333356-1, 333356-2 (Figure 5) or
333356-3 (Figure 4).
3 Remove lower spring clip 324648 from upper coupling 323439. Un-
thread and remove upper coupling from rod 323438-2 (Figure 4),
323438-1 or 333438-5 (Figure 5).
Revision (3-15)
4 Remove two spring clips 324648 from lower coupling 323439. Un-
thread and remove rod from lower coupling, then remove lower cou-
pling from adapter 323751.
5 Unthread and remove valve seat 323707 from adapter 323751. Re-
move piston 338120, ball 171700-36, and spring 336438 (Figure 4)
or 323712 (Figure 5).
NOTE: At reassembly, apply LOCTITE ® 242 ® to male threads of
valve seat 323707 prior to installation. Do not tighten more than 1/4
turn after coming in contact with piston 338120. Allow 1-2 hours to
cure.
6 Gripping foot valve body 323778 (Figure 4) or 323708 (Figure 5),
unthread cylinder from foot valve body.
7 Model 7783-C4 only.
Remove "O" ring 171009-31 from foot valve body (Figure 4).
8 Tap out pin 323713 from foot valve body and remove ball
1722703-13.
9 Clean and inspect all parts for wear or damage.
IMPORTANT: Worn or damaged parts present a threat to personnel
and property. NEVER reuse worn or damaged parts.
REASSEMBLY:
Reassemble each section by reversing steps used to disassemble and
observe the accompanying notes.
6
Fluid Lubricant Pump
Alemite LLC