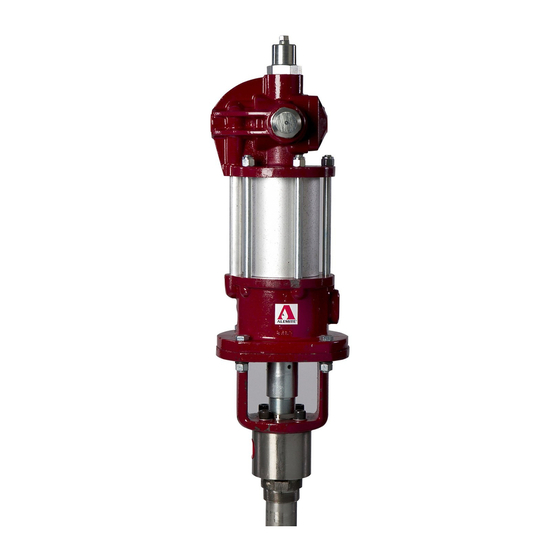
Alemite 7896 Series Panduan Servis - Halaman 12
Jelajahi secara online atau unduh pdf Panduan Servis untuk Pompa Air Alemite 7896 Series. Alemite 7896 Series 16 halaman. Medium-pressure material pump
SER 7896-A5
3. Install Spacer (27) [small diameter first] into the Body.
• Make sure the Spacer aligns with the bolt hole and
seats properly.
CAUTION
Make sure Screw (28) does not bind on the Spacer.
The Screw seats on the Body and allows the
Spacer to move.
4. Install Screw (28) into the Spacer and Body.
• Tighten the Screw securely.
• Make sure the Spacer moves.
5. Position the Body small diameter upward.
6. Install and align Upper Mounting (16) onto the Body.
7. Install and align Plate (15) onto the Body.
8. Install Lock Washers (14) and Screws (13) that secure
the Plate and Upper Mounting to the Body.
• Tighten the Screws securely in a crisscross pattern.
Pump Tube
9. Secure Extension Rod (33) securely in a soft-jaw vise.
10. Screw Rod (11) onto the Extension Rod
[with Loctite 222].
• Tighten securely.
CAUTION
Use care installing the Rod assembly into the
Body assembly. Damage to the V-Packings can
occur.
11. Install the Rod assembly [Extension Rod first] into the
top of the Body assembly.
Piston Packing
12. Clamp the flats of Guide (36) horizontally into a soft-
jaw vise.
13. Install and seat Spring (37) onto the Guide.
14. Position Valve Seat (40) small diameter upward.
15. Install and seat the following components in order:
• Female Ring (39) [concave surface upward]....Qty 1
• V-Packings (24) [concave surface upward] .....Qty 5
• Male Ring (38) [flat surface upward] ..............Qty 1
• Washer (22)......................................................Qty 1
Revision (2-04)
Medium-Pressure Material Pump
CAUTION
Use care not to trap the Spring during the
assembly process.
16. Screw the Valve Seat assembly into the Guide.
• Reposition the Spring onto the Body as required.
17. Install Stop (35) onto Stem (34).
18. Install the Valve Seat and Guide assembly (Guide end
first) onto the Stem assembly.
19. Clamp the flats of Valve (41) horizontally into a soft-
jaw vise.
20. Screw the Stem assembly [with Loctite 222] into the
Valve.
• Tighten the Stem assembly securely.
21. Measure the distance from the bottom of the Stem to
the bottom of the Valve.
• The distance must not be greater than 0.15 "
(3.8 mm). See Figure 5.
NOTE: This setting ensures the life expect-
ancy of the Valve.
22. Screw lower Coupling (9) onto the Stem until the
Spring Clip holes align.
23. Measure the distance from the bottom of the Coupling
to the top of the Stop.
• The distance must not be less than 0.18 " (4.6 mm)
and no greater than 0.21 " (5.3 mm). See Figure 5.
NOTE: This setting effects the efficiency of
the pump.
24. Install Spring Clip (10).
Rods and Cylinders
IMPORTANT: Make sure O-Ring (30) fits in
the groove at the shoulder of Extension Cyl-
inder (31). See Figure 6.
25. Install O-Rings (30) onto each end of Extension
Cylinder (31).
IMPORTANT: If a primer is used with Loc-
tite 222, the curing time is greatly reduced.
26. Screw the Extension Cylinder (knurled end first) [with
Loctite 222] into the Body assembly.
• Do not tighten at this time.
12
Alemite Corporation