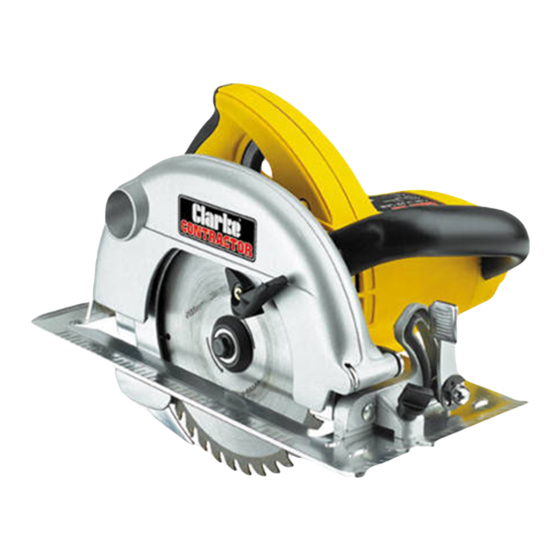
Clarke Contractor CCS2 Panduan Pengoperasian & Pemeliharaan - Halaman 6
Jelajahi secara online atau unduh pdf Panduan Pengoperasian & Pemeliharaan untuk Melihat Clarke Contractor CCS2. Clarke Contractor CCS2 6 halaman. 185mm

Features
Fig. 1
A - Saw Blade Centre Bolt
B - Saw Blade Outer Flange
C - Riving Knife
D - Lower Blade Guard Lever
E - Dust Extraction Outlet
F - Guide Plate (Bevel) Locking Lever
G - Blade Bevel Gauge
H - Guide Plate
I
- Parallel Stop Locking screw
J - Parallel Stop
K - Lower Blade Guard
L - ON/OFF Switch
M - ON/OFF Switch Interlock Button
N - Spindle Lock
O - Blade Depth Locking Lever
P - Blade Depth Gauge
6
Operation
WARNING! This appliance should not be used by anyone not fully trained in
the use and operation of Power Tools
IMPORTANT!
Before use, ensure the workpiece is perfectly secure, and there is sufficient
clearance BENEATH the workpiece so that there is no possibility of the saw blade
coming into contact with any other object.
1. Set the blade depth
.... so that the blade just breaks through the underside of
the workpiece. This is achieved as follows:
Raise the Lower Blade Guard using the
lever 'D' Fig. 1, and lay the saw alongside
the workpiece so that the blade guard is
supported by the top surface of the
workpiece.
Unlock the Blade Depth Locking
Lever 'O' by pulling it upwards.
Hold down the Guide Plate whilst raising
the saw, and push downthe locking lever when
the blade is just of the workpiece, as illustrated.
The saw blade should never extend by more that 3- 4mm.
Failure to set the depth correctly will result in the Lower Blade Guard not operating
correctly and fouling the workpiece during the cutting process.
2. Set the blade angle
If Accuracy is required, use a protractor
against the saw blade and Guide Plate.
Unlock the Guide Plate using the locking lever 'F',
adjust accordingly then re-lock the Guide Plate.
For general use, a scale is provided, shown
at 'G' Fig. 1.
The illustration shows the blade set at 45
3. Safety
Check that all parts are secure, including
the saw blade and Riving Knife, which
must be directly in line with the blade...if
it is not, it MUST be realigned before use.
Adjust the parallel stop if required. Ensure the mains cable is well away from the
saw blade and not looped under the workpiece, then plug into the mains supply.
Fig. 2
Fig. 3
O
7
