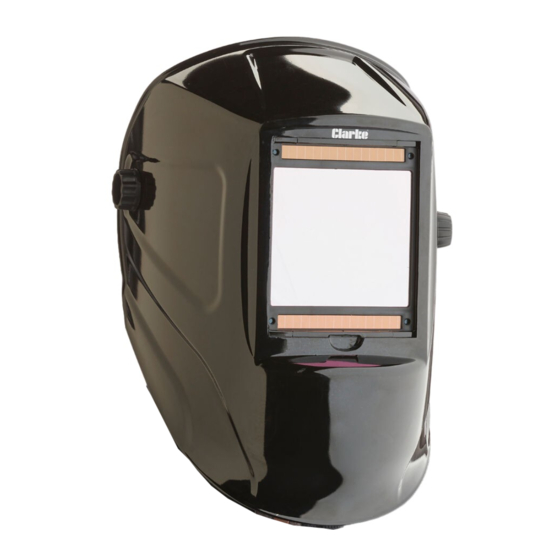
Clarke GWH8 Panduan Petunjuk Pengoperasian & Pemeliharaan - Halaman 4
Jelajahi secara online atau unduh pdf Panduan Petunjuk Pengoperasian & Pemeliharaan untuk Peralatan Clarke GWH8. Clarke GWH8 13 halaman. Arc activated headshield

PREPARATION
ADJUSTING THE HEADBAND TO FIT
1. The headband should be
adjusted both in diameter and
height to fit the wearer's head. To
do this, press in and turn the
adjustment knob on the back of
the headband either left or right
to expand or contract the
headband.
2. The top headbands can be
adjusted by bending the strap
and positioning the pegs in the
appropriate hole in each headband.
3. The working position of the headshield and its raised position can be pre-
set.
4. Loosen the adjusting nuts until you
can lift the adjusting tab and
position it on the pins on the
backing plate to set the
headband range of movement.
Tighten the adjusting nut when
satisfied.
• You can remove the
headband completely from
the headshield by unscrewing
the side knobs.
USING THE HEADSHIELD
1. The lens will be set to Light DIN 4 state, & you will be able to see the
workpiece. The lens will automatically darken when an arc is struck.
2. Test the lens by striking an arc on the workpiece for the first time. Check
also that the outer screen and lens are clean and clear at all times.
3. Change the shade setting as required using the shade adjustment knob as
described on page 5. Refer to the table on page 7.
Parts & Service: 020 8988 7400 / E-mail: [email protected] or [email protected]
4
