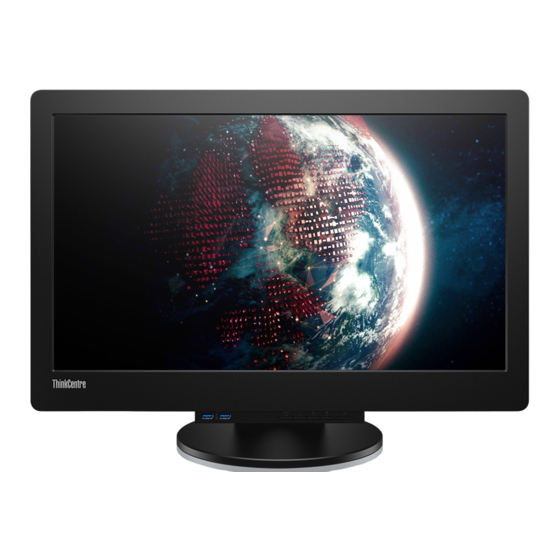
Lenovo ThinkCentre Tiny-in-One 23 Panduan Pengguna - Halaman 26
Jelajahi secara online atau unduh pdf Panduan Pengguna untuk Desktop Lenovo ThinkCentre Tiny-in-One 23. Lenovo ThinkCentre Tiny-in-One 23 45 halaman.

Chapter 3 Reference information
This section contains Disassembling your monitor,monitor specifications, instructions to manually install the
monitor driver, troubleshooting information, and service information.
Disassembling your monitor
To disassemble your monitor, follow the five parts below one by one:
Part 1: Remove the Kensington-style cable lock.
Part 2: Remove the optical drive.
Part 3: Remove the rear Wi-Fi antenna.
Part 4: Remove the Tiny.
Part 5: Remove the full-function monitor stand.
Note: The Kensington-style cable lock, the optical drive, and the rear Wi-Fi antenna are available only on some
models.
Part 1: Remove the Kensington-style cable lock.
Note: The Kensington-style cable lock is available only on some models.
With the key of the Kensington-style cable lock, unlock the lock that is attached to the rear panel of your
computer.
Part 2: Remove the optical drive.
Note: The optical drive is available only on some models.
1. Turn off the computer, and then disconnect the power cords from electrical outlets and all cables that are
connected to the monitor and computer.
2. Carefully pivot the optical drive bay cover 1 to the right to open the cover. Then, slide the optical drive
to the left to remove the optical drive from the monitor.
Chapter 3 Reference information
21
