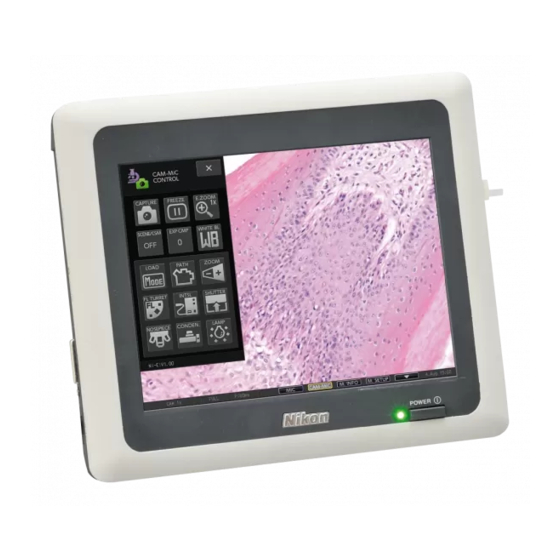
Nikon DS-L3 Referensi Cepat - Halaman 5
Jelajahi secara online atau unduh pdf Referensi Cepat untuk Aksesori Kamera Nikon DS-L3. Nikon DS-L3 8 halaman. Ds camera head; ds cooled camera head
A
A
4
4
4
Operate scales and annotation functions.
Note: Color for drawing can be selected from black, red,
yellow, green, blue, and white.
Scales
XY measurement
Movable two cross lines are
displayed on the screen.
Horizontal (X) and vertical (Y)
distance can be measured.
X scale (cross scale)
Movable two cross lines are
displayed on the screen.
Horizontal (X) and vertical (Y)
distance can be measured.
Scale
A scale is displayed at the
bottom right of the screen.
Approximate size of an object
can be measured.
Cross hairs
Movable cross hairs with
concentric circles are
displayed. Settings of cross
hairs and circles can be
changed in [TOOL SET: X
HAIRS] screen.
Grid
Grid can be displayed on the
screen. Distance between grid
lines can be arbitrarily specified
with a numeric value or by two
points on the screen (in [TOOL
SET: GRID] screen).
Annotation
Text comment
An alphanumeric text comment
can be added to an arbitrary
location of the screen.
Add a text comment to
the desired position.
n
n
o
t
a
t
i
o
n
(
S
c
a
n
n
o
t
a
t
i
o
n
(
S
c
a
X : 3.00 mm
Y : 2.00 mm
1mm
0
0
1mm
1mm
0
l
e
s
a
n
d
T
e
x
t
C
o
l
e
s
a
n
d
T
e
x
t
C
o
Straight line and arrow
A straight line or arrow can be
drawn on the screen.
Pen drawing
Any line can be drawn on the
screen.
Counting with marker
A marker with a number can be
1mm
drawn on an arbitrary location
0
of the screen. Points on the
screen can be numbered for
the color.
5
5
Configure to paste scales and annotations to
5
the image.
[TOOL SET: MAIN]
5
m
m
e
n
t
)
<
c
o
n
t
d
m
m
e
n
t
)
<
c
o
n
t
d
1
Open the [TOOL SET: MAIN]
screen.
Press the [TOOL SET] button
on the [TOOL MENU] screen
to open the submenu and
select [MAIN].
Note: An image can be captured or
2
Paste scales to the image.
Select the desired item(s) by
putting a checkmark to its box.
3
Paste annotations to the image.
Put a checkmark to the
[OVERLAY] checkbox.
(This applies to overlaying the
measurement results.)
4
Return to [TOOL MENU].
After the settings is done, press
the [
to the [TOOL MENU] screen or
press the [X] button to close the
[TOOL SET: MAIN] screen.
[TOOL SET: MAIN] screen
.
>
.
>
printed with scales and
annotations overlaid just as
displayed on the monitor, if
they are set to be output by
selecting with the checkmark.
TOOL] button to go back