Armstrong Rada 320D Panduan Instalasi dan Pemeliharaan - Halaman 15
Jelajahi secara online atau unduh pdf Panduan Instalasi dan Pemeliharaan untuk Unit Kontrol Armstrong Rada 320D. Armstrong Rada 320D 20 halaman. Water temperature controls groups of fixtures - thermostatic
Juga untuk Armstrong Rada 320D: Panduan Instalasi dan Pemeliharaan (12 halaman), Panduan Instalasi dan Pemeliharaan (20 halaman)

Step 2
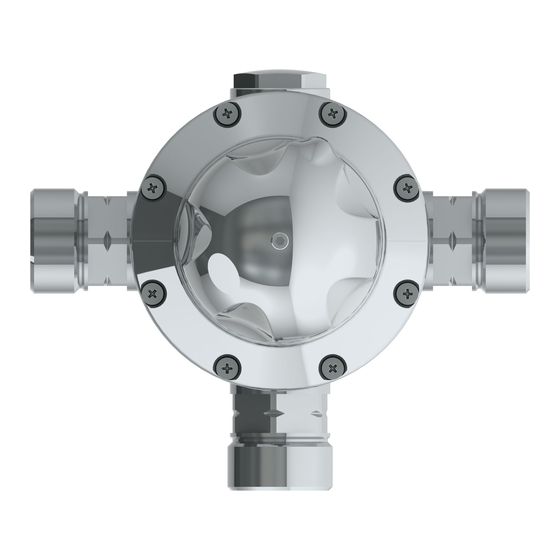
'H' and 'C' marked on
cartridge. Make sure that
the 'H' is lined up with the
hot inlet and that the 'C' is
lined up with the cold inlet
Disassembly
1.
Unscrew the knob using a 3mm Allen Key.
2.
Remove the Knob and Hub.
3.
Remove Temperature Indicator Trim.
4.
Remove the cartridge assembly by first removing the six phillips head-retaining screws and then smoothly
drawing the cartridge out. Do not twist or apply "side load" leverage when extracting the cartridge.
5.
When installing a new or reinstalling an existing cartridge note the raised "H" on the hot inlet of the cartridge
and align to hot supply accordingly. Conversly, align raised "C" with cold supply.
15
