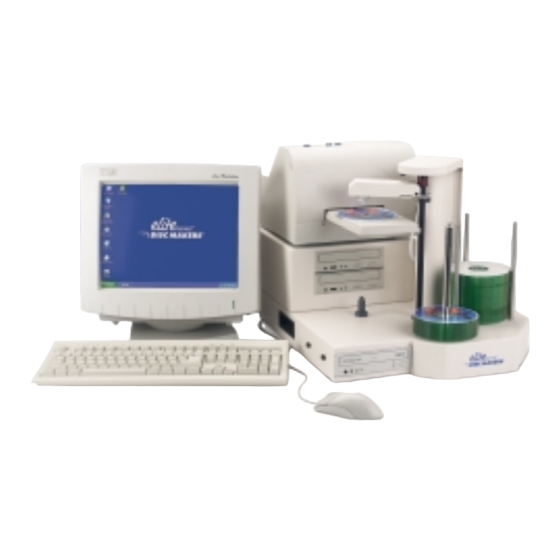
Disc Makers ElitePro1 Buku Petunjuk - Halaman 8
Jelajahi secara online atau unduh pdf Buku Petunjuk untuk Duplikator Disk Disc Makers ElitePro1. Disc Makers ElitePro1 20 halaman. Elitepro series cd-r/dvd-r publishing and printing system

Step 2
Installation of the CD Pick Arm
The CD pick arm needs to be installed onto the robotic lift ring.
• Remove the pick arm from its bubble wrap packaging. Included with the pick
arm will be a bag containing two small black plastic rivets. These are used to
hold the pick arm in place. Each rivet is two pieces, an outer sleeve and and
expander pin that presses through the center of the sleeve. Remove the
expander pin from each rivet.
• Align the two holes on either side of the pick arm with the holes on the CD lift
mechanism. Hold the pick arm with one hand and insert a rivet sleeve into
each side. Press the expander pin through the center of each sleeve.
• Plug the RJ12 telephone type connector into the pick arm. Give a slight tug
on this cable to make sure it's locked into place. Once the pick arm is in
place it CANNOT be manually moved left/right or up/down.
• To remove the pick arm, unplug the cable connector, remove the expander
pin from each plastic rivet, and the sleeve will slide out easily from the pick
arm.
• Please note: the Pick arm must be removed from the robotics lifter ring
before repackaging and placing the foam protection over the unit.
1. Locate pick arm and retainers.
3. Hold pick arm in place and
connect RJ12 connector.
T
2. Press in the black plastic
4. The pick arm after installation.
www.discmakers.com
retainers.
1-888-800-4041
8
