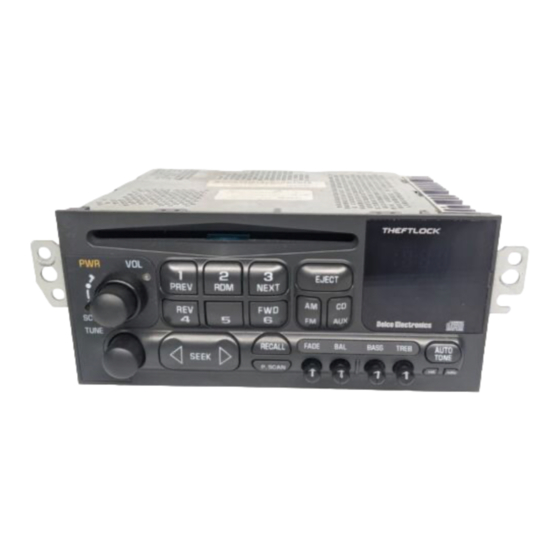
Discount Car Stereo A2DIY-C5 Panduan Memulai Cepat - Halaman 2
Jelajahi secara online atau unduh pdf Panduan Memulai Cepat untuk Penerima Mobil Discount Car Stereo A2DIY-C5. Discount Car Stereo A2DIY-C5 9 halaman. Bluetooth hands-free, music streaming + aux input kit for 1997-04 c5 corvette
Juga untuk Discount Car Stereo A2DIY-C5: Panduan Instalasi (10 halaman), Panduan Instalasi (8 halaman)

PRODUCT SAFETY & DISCLAIMER
READ ALL INSTRUCTIONS CAREFULLY BEFORE INSTALLING, FAILURE TO DO SO MAY CAUSE
PERSONAL INJURY OR DAMAGE TO PRODUCT AND/OR PROPERTY
This installation guide is provided as a GENERAL installation guide, some vehicles vary and
may require additional steps. We do not accept responsibility for third party labor charges
or modifications. Exercise due-diligence when installing this product.
We do not accept any responsibility for vehicle damage or personal injury resulting from
the installation of this product.
Careless installation and operation can result in equipment damage
Introduction:
(Latest revision)
This easy to install Bluetooth "triple play" kit is essential to keeping your
American classic as stock possible if looking to add Bluetooth features. The
A2DIY-C5 module sounds great for mobile conversations, streaming music, AUX
playback and more. The included media button replaced old push button +
remote and used to adjust device volume, pause/play tracks and easily mounts
to steering wheel or dashboard. In addition, an optional USB charging port is
available to charge those power-hungry devices while on the road. Keep original
C5 radio (Bose or non-Bose) while enjoying Bluetooth features only available in
newer cars.
Note: The A2DIY-C5 does not interfere with the functionality of existing
AM/FM/CD or Cassette radio), however the remote 12-disc changer (if present);
must be disconnected.
If vehicle has a 12-disc changer; it must be disconnected
at 10-pin plug in trunk/hatch. Purchase our
you wish to retain changer operation.
See Frequently Asked question at the end of this guide for more details.
Installation:
(To radio)
Click video links below for radio removal instructions)
Radio removal required. (
https://www.youtube.com/watch?v=Gcrlufo1ctc
https://www.youtube.com/watch?v=WTbWYNJTSDs
1.
.
2. Connect factory 20-pin plug (from step 1), to matting connector (white)
A2DIY-C5CD
if
3. Connect installation harness 20-pin black/gray plug (See Fig. 2) to
Locate factory 20-pin plug on the back of the radio. Press black
release tab and disconnect (See Fig. 1)
Fig. 1
Warning: The 32-pin connector (pictured above) is of vehicle's
climate control module, not the 20-pin radio connector.
on installation harness (See Fig. 2).
Fig. 2
installation harness
radio 20-pin radio connector vacated in step 1
