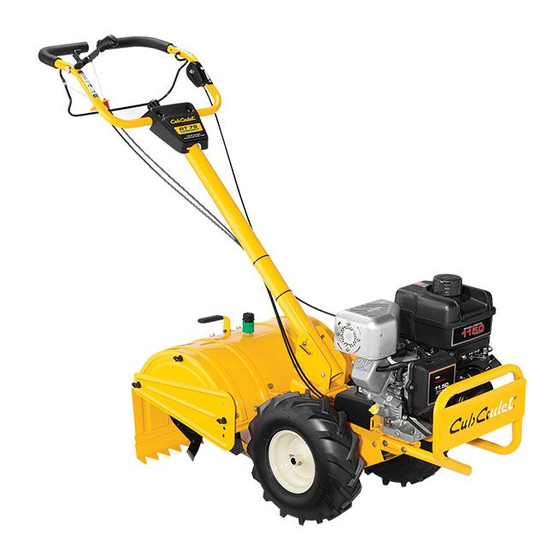
Cub Cadet RT-75 Panduan Operator - Halaman 13
Jelajahi secara online atau unduh pdf Panduan Operator untuk Anakan Cub Cadet RT-75. Cub Cadet RT-75 20 halaman. Rear tine

3.
To adjust the side shields, remove the wing nuts. Move the
side shield to the desired position and replace the wing
nuts. Tighten securely. See Figure 5-1.
Use This Hole for
Lowest/Shallowest
Position
Use this Hole for
Highest/Deepest
Position
Figure 5-3
4.
When breaking up sod and for shallow cultivation, use the
second slot from the top. Place the side shields in their
lowest position. See Figure 5-3.
5.
For further depth, raise the depth adjustment lever and side
shields and also make one or two more passes over the area.
6.
When tilling loose soil, the depth adjustment lever may be
raised to its highest position (use the bottom adjustment
slot) to give the deepest tilling depth. Raise the side shields
to their highest position.
7.
To transport the tiller, lower the depth stake and use the
top adjustment slot.
Operating the Tiller
1.
Select the depth adjustment lever setting.
2.
Start the engine as instructed on the previous page.
3.
Move the neutral lever into the drive position.
WARNING!
Do not move the neutral lever into
drive with the tines engaged. Make certain the tiller
is stopped completely before placing tiller in drive. A
partial engagement may be necessary when
engaging tines.
4.
To shift into forward wheels and tine drive, slowly engage
the forward clutch bail allowing the gears to synchronize.
To stop forward movement and tine drive, release the
forward clutch bail. Do not shift from neutral to drive or
drive to neutral with the forward clutch bail engaged.
5.
Squeeze the clutch handle against the handle to engage
the wheels and tines.
WARNING!
Do not push down on the handles so
that the wheels are lifted off the ground while using
the tine drive, or the tiller could move backward and
cause personal injury.
6.
For best results, it is recommended the garden be tilled
twice (lengthwise, then width-wise) to pulverize the soil.
To move in reverse: (Do not till in reverse)
1.
Release the forward clutch bail. Then lift the handlebar
until the tines are off the ground.
2.
Pull back on the reverse clutch handle and walk backwards
with the machine.
Turning the tiller
MANUALLY
1.
Practice turning the tiller in a level, open area. Be very
careful to keep your feet and legs away from the tines.
2.
To begin a turn, lift the handlebars until the tines are out of
the ground and the engine and tines are balanced over the
wheels.
3.
With the tiller balanced, push sideways on the handlebar to
steer in the direction of the turn. After turning, slowly lower
the tines into the soil to resume tilling.
USING THE SWING LEVER
1.
The tiller handle can be swivelled in either direction.
The pivot control handle enables the tiller to be guided
sideways to the next row. See Figure 5-4.
Figure 5-4
2.
Pull up on the handle pivot control knob to release the handle.
3.
Swivel the handle into the desired position.
4.
Release the handle pivot control knob to secure the handle
in place.
S
5 — o
ection
peration
13
