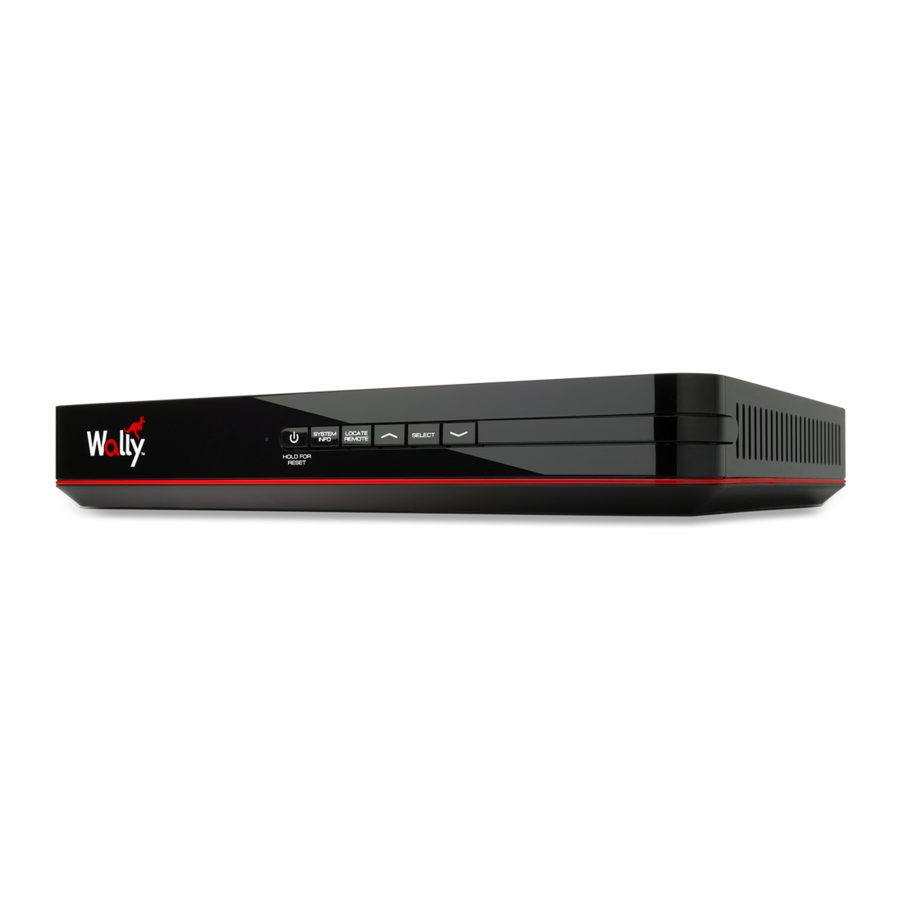
Dish Network WALLY Setup Manual - Halaman 3
Jelajahi secara online atau unduh pdf Setup Manual untuk Penerima Dish Network WALLY. Dish Network WALLY 17 halaman. Single-tuner hd satellite receiver
Juga untuk Dish Network WALLY: Panduan Pengguna (16 halaman), Pengaturan (20 halaman), Panduan Pengguna (2 halaman)

- 1. Labeling Your Cables
- 2. Disconnecting Your Cables
- 3. Connecting the Cables to Your Replacement Receiver
- 4. Powering Your Equipment
- 5. Acquiring a Satellite Signal
- 6. Downloading Your Wally Software
- 7. Pairing Your Remote Control and Setting Your Wally Location
- 8. Setting Your TV Configuration
- 9. Testing Your Hopper Connectivity to the Internet
- 10. Activating Your Wally
- 11. Returning Your Original Receiver
1. Labeling Your Cables (Cont'd)
c. Attach the yellow label to the
cable connected to the "Ethernet"
port.
d. Attach the gray label to the
power cord that came with
your new Wally.
2. Disconnecting Your Cables
a.
Do not disconnect the cables from the wall or TV. Disconnect the cables from the
receiver being replaced. Only disconnect the cables at the end connected to the receiver.
