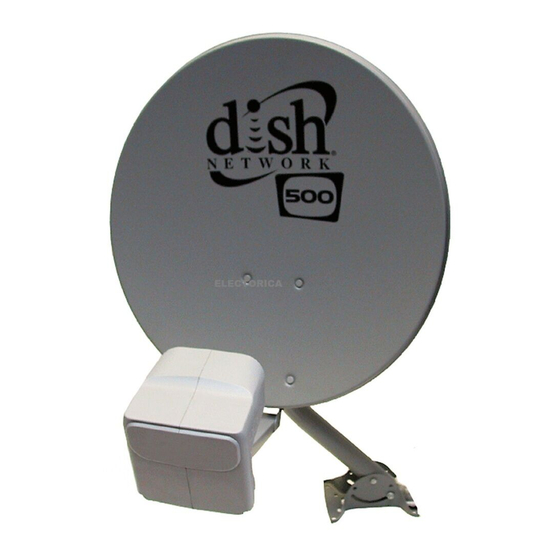
Dish Network DISH 1000 Panduan Petunjuk Instalasi - Halaman 3
Jelajahi secara online atau unduh pdf Panduan Petunjuk Instalasi untuk Antena Dish Network DISH 1000. Dish Network DISH 1000 16 halaman.
Juga untuk Dish Network DISH 1000: Manual (18 halaman), Manual (20 halaman)

Introduction
Attention!
technicians due to the complexity of the installation and compliance to national/local building
and electrical codes.
Overview
These instructions guide you through the installation of a DISH Network DISH 1000 antenna. The
DISH 1000 is capable of receiving digital television signals from three DBS satellite locations: 110°W,
119°W, and 129°W. These instructions cover wall mounting only. For other mounting options (for
example, pole mounting, struts, non-penetrating mounting), see the Retailer Care Site at
retailer.echostar.com.
Your DISH 1000 antenna system consists of a reflector assembly, one DISH Pro Plus Twin LNBF and one
DISH Pro Single or Dual LNBF.
Installation Considerations
While all DISH Network satellite receivers can be connected to the DISH 1000, the following models
cannot detect the 129°W location: 1000, 2000, 3000, 4000, 5000, JVC-DVHS, and the DishPlayer 7100/
7200.
This installation does not support one lone Legacy receiver or two Legacy receivers. Legacy receivers do
not have the DISH Pro or DISH Pro Plus logo (shown below).
About the System
The DISH Pro Plus Twin LNBF provides reception from the 110°W and 119°W orbital locations, and
provides an input from a DISH Pro Single or Dual LNBF to receive programming from 129°W.
The DISH Pro Plus Twin LNBF supports connection of up to two satellite receivers in any of the following
combinations:
•
Single-cable connection to DISH Pro Plus (dual-tuner) receivers, when each input is used with a DISH
Pro Plus Separator.
•
Single-cable connection to DISH Pro receivers.
•
Single-cable connection to a Legacy receiver provided that a DISH Pro or DISH Pro Plus receiver is
also connected. No DISH Pro Adapter is required.
These installation instructions are intended for use by qualified professional
Page 1
