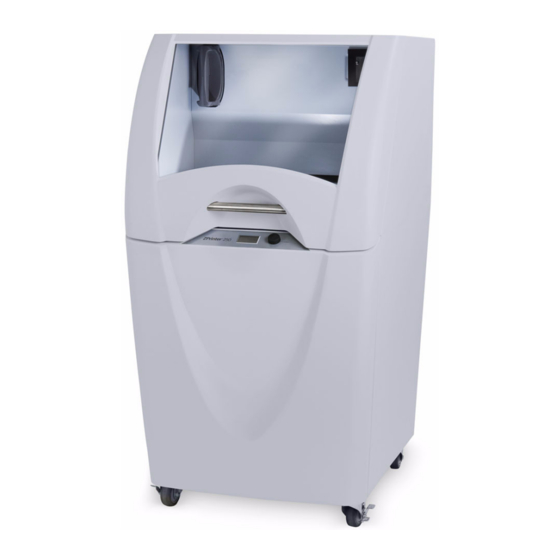
3D Systems ZPRINTER 150 Panduan Memulai Cepat - Halaman 6
Jelajahi secara online atau unduh pdf Panduan Memulai Cepat untuk Printer 3D 3D Systems ZPRINTER 150. 3D Systems ZPRINTER 150 16 halaman.
3. Setup Your Build And Print
Now that your printer is clean, you need to open up the 3D file
using ZPrint, and select your printing parameters.
1.
Open your file in ZPrint.
2.
Select File > 3D Print Setup, or click
to open the 3D Print Setup dialog.
3.
Check your printer settings to be sure the correct printer
and powder are displayed.
•
If you need to change any settings, refer to the Setup
and Print the Build section of the User Manual for
your printer.
4.
Select File > 3D Print, or click
the Printer Status dialog.
5.
Check the Printer Status window. If all the Print Head,
Powder, and General items display OK, the Print button is
enabled.
If any items need attention, the Print button is disabled.
•
If the printer only needs a new print head, and you are
comfortable performing the steps required, see the
Replace a Print Head section of this Guide.
•
Otherwise, refer to the Additional Operations section
of the User Manual for your printer. There you'll find
3dscentral.3dsystems.com
on the Toolbar.,
on the Toolbar, to open
details on how to get the printer ready and clear any
messages.
6.
Select any Print Options for this build.
7.
Click Print to start your build.
8.
The Printing dialog opens and reports the status of the
print job for as the build progresses.
•
Click the Pause button to pause the current print job,
Click again to resume printing.
•
Click the Cancel button to cancel printing this job.
6