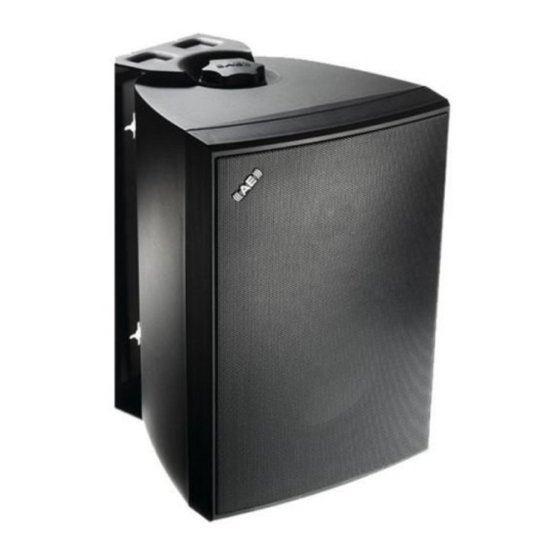
Acoustic Energy Extreme 8 Panduan Pemilik - Halaman 4
Jelajahi secara online atau unduh pdf Panduan Pemilik untuk Pembicara Acoustic Energy Extreme 8. Acoustic Energy Extreme 8 8 halaman.

5. Mounting Brackets
With speaker mounting locations selected, the Mounting Brackets can be attached
to the mounting surface or structure. Diagram Two illustrates the bracket, speaker
and associated components.
Use the bracket itself as a template to mark the mounting hole positions employing
a spirit-level to ensure the bracket is level. The mounting holes are provided with
key-hole slots to simplify attachment. At least two screws must be used to attach
each bracket.
Fittings (Rawlplugs, etc.) and screws are not included with the bracket but should
be chosen appropriately for the type and condition the of structure the brackets
are to be attached to. Extreme Series speakers are heavy and you must be sure
that the structure and fittings chosen are able to support their weight. If you have
any concerns over the suitability of the structure, or doubt in your ability to fix the
brackets securely, you should seek professional advice and help.
Diagram Two
Page
Upper
Attachment
Knob
Mounting
Bracket
Lower
Attachment
Knob
Once a bracket is securely fixed, attach the speaker by
offering it up to the bracket and inserting the threaded
section of each Attachment Knob in turn through the
bracket and into the threaded holes in the speaker.
Tighten the Attachment Knobs while holding the
speaker at the desired mounting angle.
The speaker cable can either be threaded through the
elongated hole in the centre of the Mounting Bracket
(before the bracket is attached) or left unattached to
the bracket. If the cable is to be threaded through the
Mounting Bracket make sure that there is enough
cable left free to enable easy attachment of the
Speakon plug and also that the cable is not trapped
behind the bracket when the mounting screws are
tightened.
Connecting the Speakon plugs and speakers is
described in the following section.
