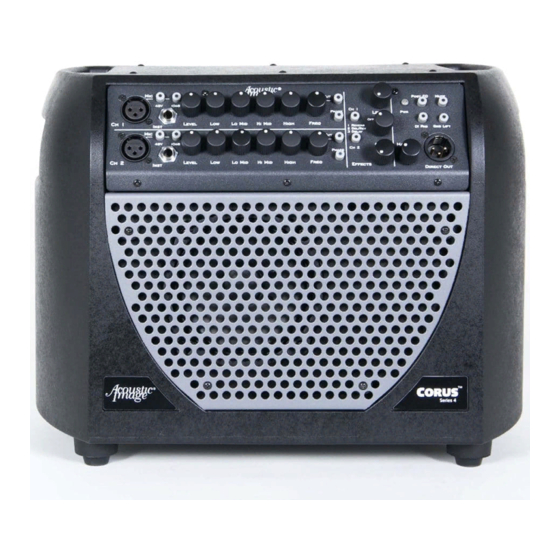
Acoustic Image Coda Corus Panduan Pemilik - Halaman 7
Jelajahi secara online atau unduh pdf Panduan Pemilik untuk Penguat Acoustic Image Coda Corus. Acoustic Image Coda Corus 12 halaman. S4plus

Effects
On/Off
Phase Inv
nel
Effects
Prog Select
Rate
Level
Phase Inv
Ch 2
Effects
jumper
On/Off
10dB
10dB
10 db
Direct Out
Pre/Post
Pad
I/O Buss
Gnd Lift
Master
Level
Power
Amp
Mute
1
2
Off
3
1 Reverb
2 Del/Rev
3 Delay
Control Panel
10
Limiter Switch
Under extreme playing conditions such as high volume or when
driving a low impedance speaker load, the Clarus may be pushed
beyond its limits. When that happens, you will hear high distortion and
you may even cause the overcurrent protection circuit to operate
resulting in an interruption of sound. The limiter switch, located on the
rear panel of the amp head, is provided to allow the amp to operate
Speaker
under these conditions with lower distortion or without having the
Outputs
overcurrent circuit kick in. The limiter reduces the peak signal that is
driving the power amp, thereby reducing its peak output with the result
of lower distortion. If you find yourself having to play in extreme
conditions that cause the amp to have too much distortion or even
signal interruption, engage the limiter and see if that helps the
situation.
Internal Jumper Options
On the back side of the Clarus preamp control circuit board are
several user-selectable options: one selects the gain level in the input
stage, another selects between a phase reversal and a speaker
emulation filter and the last disconnects channel 2 from the output
buss and connects it to an output jack. To access the back side of the
circuit board, remove the 5 screws that hold the front panel to the
chassis and remove the panel and preamp from the chassis .
A photo of the back side of the circuit board is shown below:
Ch 2 Jumper
Looking closely at the circuit board in the vicinity of the jumpers, you
can see that each has a label that tells you the option that has been
selected by the jumper. The Gain Jumper is labeled "Norm" or "-6 dB."
If the shunt is under "Norm," the normal gain option is selected. The
Filter Jumper is labeled "Invert" or "LP." If the shunt is under "LP," the
low pass filter, or speaker emulator has been selected. As you can
see, each channel has a jumper option, so you can select the same or
a different option for each one. The Ch 2 Jumper is labeled "Out" or
"In." If the "In" position is selected, channel 2 is disconnected from the
output buss and is connected to the Ch 2 Preamp Out jack on the rear
panel. (Hopefully that nomenclature is not too confusing.)
Gain Jumpers
Filter Jumpers
11
