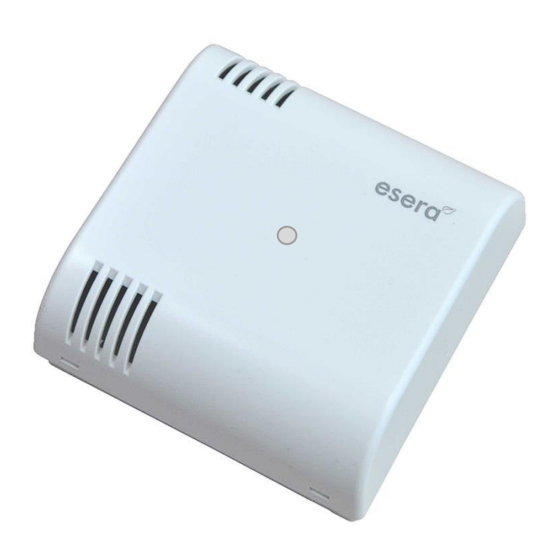
esera automation MS 100 Panduan Pengguna - Halaman 5
Jelajahi secara online atau unduh pdf Panduan Pengguna untuk Aksesori esera automation MS 100. esera automation MS 100 7 halaman. Multisensor temperature, humidity and brightness for 1-wire bus system

Art. No. 11134 V2
11
Manual calculation of the sensor values
The following formula can be used to evaluate the humidity sensor.
VDD = operating voltage (5V), VAD = humidity sensor, analog value of the DS2438, Xsense = light sensor,
analog value of the DS2438.
Humidity calculation
Offset = 0.847847 (Zero Offset V), slope = 29.404604 (Slope: mV/ %RH)
Srh = (VAD_new - offset) / (slope / 1000)
rFH = (Srh + 2)/ ((1.0305 + (0.000044 * Temperature) - (0.0000011 * Temperature x 10²)))))
for Loxone control:
I1 = VAD-Value, I3 = Temperature
((((5/I2*I1)-0,847847)/(29,404604/1000))+2)/((1,0305+(0,000044*I3)-(0,0000011*I3^2)))
Brightness calculation
Xsense in Volt, factor = 25600
correction for operating voltage fluctuations: Xsense = (5 / VDD) * Xsense
brightness (LUX) = (0,223V – Xsense) * factor
Note on brightness measurement
It should be noted that due to the placement of light sources in relation to the angle of incidence of the
Multisensor, there may be considerable deviations in the measured brightness values compared to hand-held
brightness meters. This is not a fault of the Multisensor.
In the case of lighting with fluorescent or LED lamps, the value may also fluctuate. A living room brightness
control is usually affected by strongly changing light conditions, e.g. by shadows of people in the room and
the resulting fluctuations of the sensor light values, and a well-functioning control function is often difficult to
implement. The reason for this is largely the unfavorable placement in the light switch area for the brightness
measurement of the Multisensor.
12
1-Wire Network, Cabling
The special feature of the 1-Wire system is the "BUS technology". All devices (sensors and actuators) are
operated in parallel on a three-wire line, which is used for both power supply and data communication. The
1-Wire Bus system joins the list of other successful bus systems such as CAN or Modbus RTU. All of the
installation principles recommended for these are also applicable and appropriate to 1-Wire.
The maximum size of a 1-Wire Network is determined by various factors. These are mainly:
-
Total cable length and cable type
-
Number of 1-Wire devices
-
Type of cable installation (topology)
-
Number and design of cable connectors (unnecessary connection transitions should be avoided)
All factors in total are summarised and designated as 1-Wire Bus load. Each increase in a factor increases the
total 1-Wire Bus load for the 1-Wire Controller and thus reduces the maximum network size.
According to our many years of experience and a lot of feedback from customers, the following conservative
recommendation can be made:
-
Maximum cable length 50 -120m
-
Number of 1-Wire devices no more than 20 -22 pieces
-
As linear a topology as possible without T-junctions
The topology in particular plays a major role. If possible, it should be installed in a linear topology. The linear
topology can be compared like pearls on a pearl necklace. The data line should be laid from one device to the
next without T-joints.
Furthermore, the type of cable used can also be mentioned here. We recommend for the cabling
CAT5 or CAT6 network cable. It is also possible to use J-Y(St)Y telephone cables and KNX cables. Longer
cable runs are possible with CAT5 versus CAT7 cables.
With twisted pair cables, a longer connection length can be achieved in an undisturbed environment, as the
capacitive Bus load is lower. A total length of 50 m and more can be easily achieved without additional
measures.
All rights reserved. Reproduction as well as electronic duplication of this user guide, complete or in part, requires the written consent of
ESERA GmbH. Errors and technical modification subject to change. ESERA GmbH 2021
www.esera.de
11134-V2 V1.0 R1.0 Manual
Page 5 of 7
