ClearOne Aura VERSA Pro CT Panduan Memulai Cepat - Halaman 10
Jelajahi secara online atau unduh pdf Panduan Memulai Cepat untuk Sistem Konferensi ClearOne Aura VERSA Pro CT. ClearOne Aura VERSA Pro CT 15 halaman.
- 1. Contact Information
- 2. Table of Contents
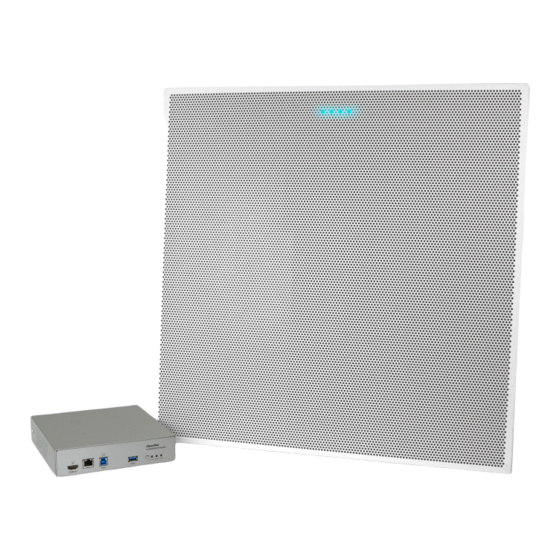
- 3. Components Included
- 4. Important Safety Instructions
- 5. The BMA CTH
- 6. Install the Components
- 7. Quick-Start Overview
- 8. Connect the Components
- 9. Component Connections
- 10. Test the Versa Pro CT
- 11. Compliance
- 12. Part Numbers
- 13. BMA CTH Isometric Diagrams
Versa™ Pro CT
Mount the Huddle CTH on a Wall
Select your hardware based on your specific installation needs.
1. Determine location for the Huddle CTH.
2.
Use a pencil to mark on the table the location of four mounting holes that
align with the mounting holes on the unit's mounting ears. If needed, use
a level.
3.
With the proper size drill bits, drill four pilot holes for fasteners/anchors.
4.
Install the fasteners/anchors in the wall.
5.
Align the mounting holes on the Huddle CTH mounting ears with the pilot
holes.
6.
Use four #6 or M3.5 screws to attach the Huddle CTH to the wall.
Mount the Huddle CTH Behind a Display
The back of the Huddle CTH includes a 75 mm x 75 mm VESA hole pattern. This
allows the use of a VESA display mount to attach the Huddle behind a display.
VESA display mount kits with a matching standard hole pattern are available
from third parties.
Mounting details are dependent on the specific display and the mounting kit.
7
QSG-0081-002v1.0 January 2021