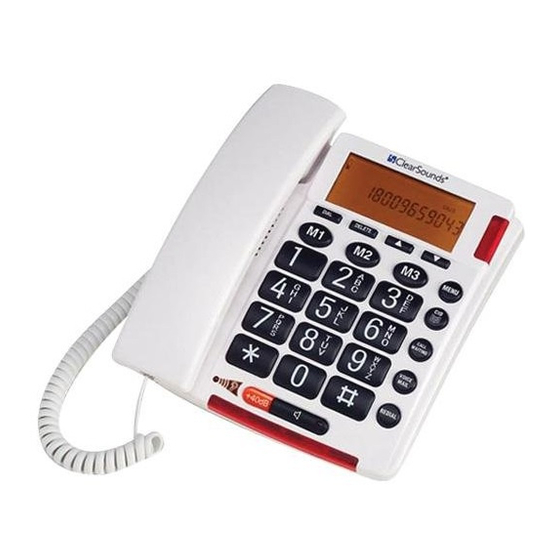
ClearSounds TALK500 ER Panduan Pengguna - Halaman 9
Jelajahi secara online atau unduh pdf Panduan Pengguna untuk Telepon ClearSounds TALK500 ER. ClearSounds TALK500 ER 17 halaman. Talking telephone featuring ultraclear sound shaping technology
Juga untuk ClearSounds TALK500 ER: Fitur (1 halaman), Spesifikasi (1 halaman)

2. At the end of the call, return the handset to the cradle or press
Call Waiting
Many special telephone services, such as Call Waiting, require a switch-hook
signal. For example, if you have Call Waiting, you can put a call on hold and
take a second incoming call on the same line by pressing CALL WAITING
button. Press CALL WAITING again to alternate between the two calls.
Note: If you do not have any special phone services requiring a switch-hook
signal, pressing CALL WAITING might disconnect the current calls.
Message Waiting Indicator
If you have Voice Mail Service from your local phone company, when you
are unable to answer a call, the incoming call will be forwarded to a mailbox
where the caller can leave a message. Your Talk500 will display MESSAGE
WAITING if a recorded message has been left. The New Call LED will blink
until the message is retrieved.
Or you can press the DELETE button once, the display shows DELETE ?,
press and hold the DELETE button to turn OFF the New Call LED and the
MESSAGE WAITING message.
Note: Subscription is required to use the Message Waiting services.
Hearing Aid Compatibility
This unit is compatible with inductively coupled hearing aids and cochlear
processors. Adjust your hearing aid's or processor's "T-switch" to the "T"
position. Make sure to hold the handset close to your hearing aid or processor.
Important: When using the phone book features, please note it is only available at
phone book mode (
Storing numbers in the phone book (Can be stored up to 30 lists)
1. Press and release the MENU button until STORE NUMBER is shown.
2. Press the DIAL button. The cursor will flash in the first position.
3. Enter the required telephone number with a maximum of 22 digits using the
number pad and confirm with DIAL button.
4. Enter the required name with a maximum of 16 letters. The next section will
tell you how to enter names.
5. Confirm with DIAL button. The display now shows NAME RECORDING.
6. To record voice, hold down DIAL button, speak clearly into microphone after
a beep and "VOICE" icon flashing. Release the button when you finished or
the unit will stop recording after 3 seconds. The voice prompt will then be
played automatically.
7. You can repeat step 2 to 6 to enter more numbers or press
Note: When the memory location is full, FULL will displayed.
THE PHONE BOOK
icon turns on). If the
9 – ENGLISH
icon is off, press
button again.
button once.
button to exit.
