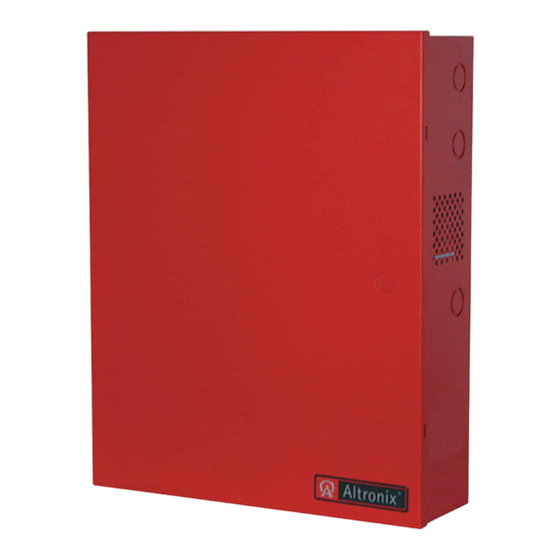
Altronix AL602ADA220J Panduan Instalasi - Halaman 4
Jelajahi secara online atau unduh pdf Panduan Instalasi untuk Pemanjang Altronix AL602ADA220J. Altronix AL602ADA220J 16 halaman. Nac power extender

AC Input:
Output:
Battery
Stand-by/Alarm
Current Consumption:
EOL Resistor (end of line): 2 .2K (2200 Ohm), Altronix Model # AL-EOL22 (included) .
Ground fault maximum
test impedance:
Stand-by Batteries
24VDC/7AH
24VDC/12AH
(use two 12VDC batteries in series)
24VDC/40AH
Note: Unit is equipped with 1A max. auxiliary output: "AUX" will remain battery backed up during
power outage. For loads connected to "AUX" please refer to battery "Stand-by Specifications" above for
ratings. When loads are connected to "AUX" output during alarm condition, the remaining outputs may
not exceed 6.5A total alarm current (example: AUX = 1A, outputs up to 5.5A).
Wiring methods shall be in accordance with the National Electrical Code/NFPA 70/NFPA 72/ANSI, and with
all local codes and authorities having jurisdiction .
Product is intended for indoor dry use only .
Carefully review:
Application Guide for AL602ADA220J, AL802ADA220J, AL1002ADA220J
Power Supply Specifications
Stand-by Specifications
Output Programming Selection Table
Sync Mode Selection Table
Terminal Identification Table
LED Status Indication Table
1 . Mount the unit in the desired location . Mark and predrill holes in the wall to
line up with the top two keyholes in the enclosure . Install two upper fasteners
and screws in the wall with the screw heads protruding . Place the enclosure's
upper keyholes over the two upper screws; level and secure . Mark the position of
the lower two holes . Remove the enclosure . Drill the lower holes and install two
fasteners . Place the enclosure's upper keyholes over the two upper screws .
Install the two lower screws and make sure to tighten all screws (Enclosure Dimensions, pg. 16) .
Secure enclosure to earth ground (Fig. 1, pg. 4). Small terminal block wire gauges range from
16 AWG to 24 AWG, all others range from 14 AWG to 24 AWG .
2 . Connect the line (L) and neutral (N) terminals to a separate unswitched AC circuit (220VAC, 50/60Hz)
dedicated to the Fire Alarm System . Secure ground wire lead to ground lug
3 . Measure output voltage before connecting devices . This helps avoiding potential damage .
4 . Connect battery to the terminals marked [+ BAT –] on the Power Supply Board (battery leads included) .
Use two (2) 12VDC batteries connected in series .
5 . Set output selection switches marked [OUT1] through [OUT4] to follow corresponding input [IN1] and
[IN2] and desired output signal type (Output Programming Selection Table, pg. 5).
6 . Connect FACP output to the desired AL800LGK9E logic board inputs, and notification appliances to the
desired AL800LGK9E logic board outputs (see 02 Application Guide).
Note: The 2-wire horn/strobe sync mode will only synchronize horns, horn/strobes, strobes with
synchronization capability .
7 . For connection of smoke detectors, digital dialer see Hookup Diagram, pg. 9.
- 4 -
Power Supply Specifications:
Nominal 220VAC (working range 198VAC - 256VAC), 50/60Hz, 2A .
Four (4) regulated supervised NAC output circuits, 24VDC, 2 .5A maximum
current . One (1) aux . special application 24VDC power output circuit 1A, non-
supervised total output current must not exceed current 6 .5A in Alarm Condition .
Use two (2) 12VDC / 7AH, two (2) 12VDC / 12AH or two (2) 12VDC / 40AH
batteries connected in series .
90mA/175mA
1000 Ohm .
Stand-by Specifications:
Stand-by Time Total
(A/Minutes)
24 Hours
24 Hours
24 Hours
Installation Instructions:
(pg. 4)
(pg. 4)
(pg. 5)
(pg. 5)
(pgs. 6-7)
(pg. 7)
Alarm Output Current
6 .5A/5 minutes
6 .5A/5 minutes
6 .5A/5 minutes
Fig. 1
Aux. Output
–
50mA
1A
Ground Lug
L
N
Line
Neutral
AL602ADA220J
