DOD DP4 Panduan Instalasi - Halaman 2
Jelajahi secara online atau unduh pdf Panduan Instalasi untuk Kamera Dasbor DOD DP4. DOD DP4 2 halaman.

Package Contents
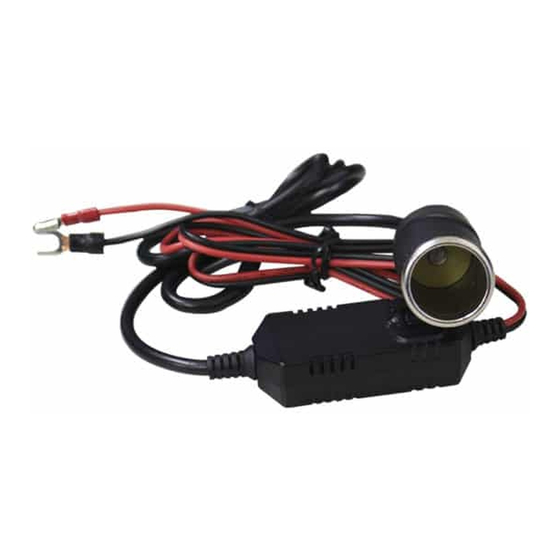
DP4 Wire
Low-Profile Mini-Fuse Set
LED Indications
OFF
No power source is connected
When device is supplied by 12V power source
*If you accidentally push the button to the wrong voltage setting that is
Green*
opposite to your vehicle's battery spec, the device will not turn on and the
vehicle may not be able to turn on. Simply flick the switch to appropriate
setting to resume proper function.
When device is supplied by 24V power source
Red
Product Specs
Rated Output
DC 12V
Output Currency
Rated 2A Max 3A
Power Output
Rated 24W Max 36W
Rated Output Power
24W
Fuse
32V, 2A
Input Voltage Cut off
11.5V
Restoration
Cut-off voltage +0.1V or more
Cable Length
1.6m
Installation Guide
Mini-Fuse Set
ATO Fuse Set
DC 24V
Rated 2A Max 3A
Rated 48W Max72W
48W
32V, 2A
23.5V
Cut-off voltage +0.1V or more
1.6m
Installation Sample
Step 1
Locate and open the fuse box in your vehicle compartment, usually located under or on the side of the dashboard
from the driver's side. Please refer to the owner's manual of your vehicle.
Step 2
Find a fuse that provides constant power, usually can use "Alarm" or "Dome light". Use a multi-meter and refer to
the owners' manual to verify a constantly powered fuse slot.
Step 3
Remove the existing fuse and plug into the according type of fuse adapter from DP4 package, then plug in the
secondary fuse (Rated maximum 2A) into the adapter's empty slot.
