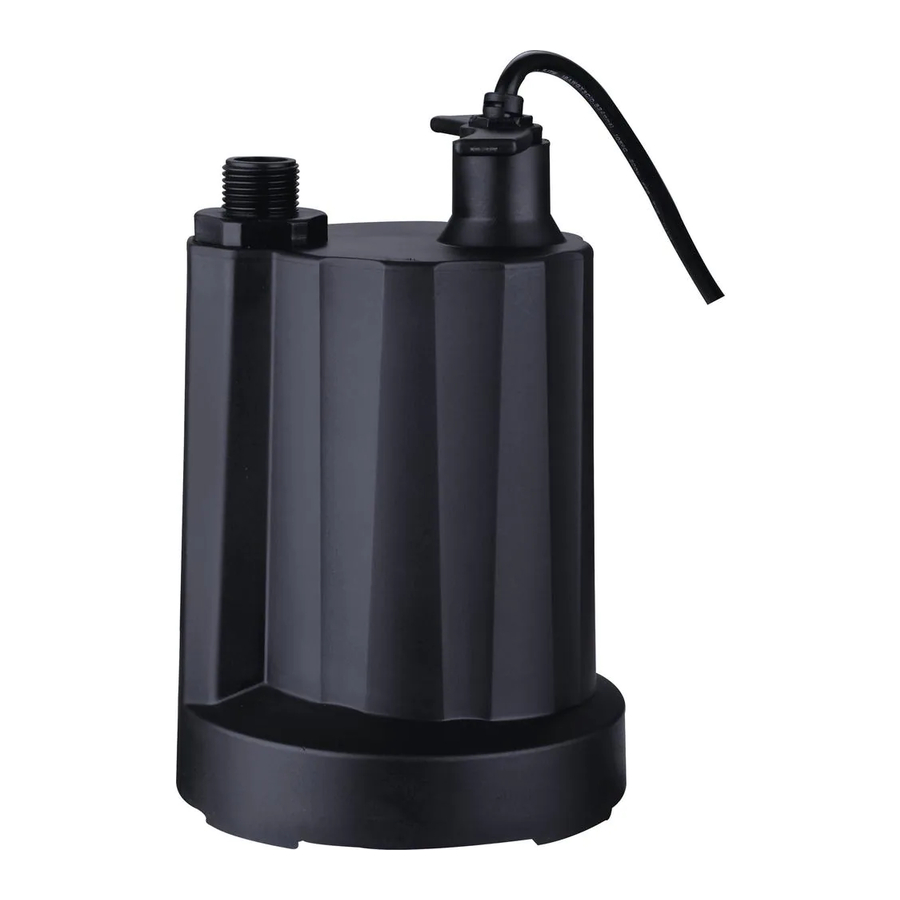
Acquaer UTP017-1 Panduan Pemilik - Halaman 5
Jelajahi secara online atau unduh pdf Panduan Pemilik untuk Pompa Air Acquaer UTP017-1. Acquaer UTP017-1 9 halaman. Submersible sump pump
Juga untuk Acquaer UTP017-1: Panduan Pemilik (15 halaman)

INSTRUCTIONS D'INSTALLATION
2.Si vous préférez utiliser un plus grand tuyau afin de
pomper l'eau loin plus rapidement,fixez l'adaptateur
inclus(B) à la pompe (A), et puis, attachez solidement le
Kit de Tuyau (non inclus) à l'adaptateur (B).
AVERTISSEMENT: Fixez le tuyau d'évacuation avant de brancher la pompe. Le couple de la
pompe peut causer un tuyau d'évacuation non garanti à «fouetter», causant éventuellement
des blessures et / ou des dommages matériels.
INSTRUCTIONS D'OPERATION
NOTICE:Assurez-vous que vous détendez le tuyau d'arrosage complètement. Les noeuds
dans le tuyau restreindront la pompe, l'empêchant de l'amorçage, qui est la première
étape pour pomper de l'eau. Le niveau d'eau doit être à environ 1 pouce pour la pompe
pour amorcer et faire fonctionner.
1.Branchez la pompe (A) dans une prise de courant du
Disjoncteur de Panne de Mise à la Terre de 115 voltages.
AVERTISSEMENT: Ne laissez pas la prise tomber dans
l'eau et ne se tenez pas dans l'eau lorsque la pompe (A)
est branchée.
La pompe (A) démarrera lorsque le cordon d'alimentation
est branché dans la prise.
Une fois la pompe (A) a retiré l'eau jusqu'à 1/4 po,
Débranchez la pompe.ATTENTION: L'échec de
débrancher cela aboutira àla pompe entrantdans
la surcharge thermique.
ATTENTION:Ne fonctionnez pas la pompe (A) en
sec. Faire fonctionner la pompe (A) sans l'eau
endommagera les joints et provoquera la pompe
(A) à échouer, évitant ainsi la garantie de la pompe.
Retirez la pompe (A) et le tuyau de l'emplacement
lorsque vous avez terminé le pompage, comme le
tuyau a encore de l'eau qui peut drainer à travers la
pompe.Retirez l'eau restante avec le racloir, la
vadrouille, l'éponge, la serviette,un aspirateur
humide / sec, etc.
2
B
B
A
1
A
12
1.If you would prefer to use a larger hose in order to pump
water away more quickly, attach the included adaptor (B)
to pump (A), and then securely attach the Hose Kit
(not included) to the adaptor (B).
A
WARNING: Secure the discharge hose before plugging in the pump. Pump torque may cause
an unsecured discharge hose to "whip", possibly causing personal injury and/or property
damage.
NOTICE: Make certain you unwind the garden hose completely. Kinks in the hose will
restrict the pump, preventing it from priming, which is the first step to pumping water.
The water level must be at 1 in. for the pump to prime and operate.
1.Plug the pump (A) into a 115 volt GFCI power outlet.
WARNING: Do not let plug fall in water and do not stand
in water while the pump (A) is plugged in.
The pump (A) will start operating when the power cord is
plugged into the outlet.
Once the pump (A) has removed the water down to 1/4 in.,
unplug the pump. CAUTION: Failure to unplug it will result
in the pump going into thermal overload.
CAUTION: Do not run the pump (A) dry. Operating the pump
(A) without water will cause damage to seals and will cause
the pump (A) to fail, thereby voiding the pump's warranty.
Remove the pump (A) and hose from the location when
finished pumping, as the hose still has water that can
drain back through the pump. Remove remaining water
with squeegee, mop, sponge, towel, wet/dry vac, etc.
INSTALLATION INSTRUCTIONS
2
B
OPERATION INSTRUCTIONS
1
5
B
A
A
A
