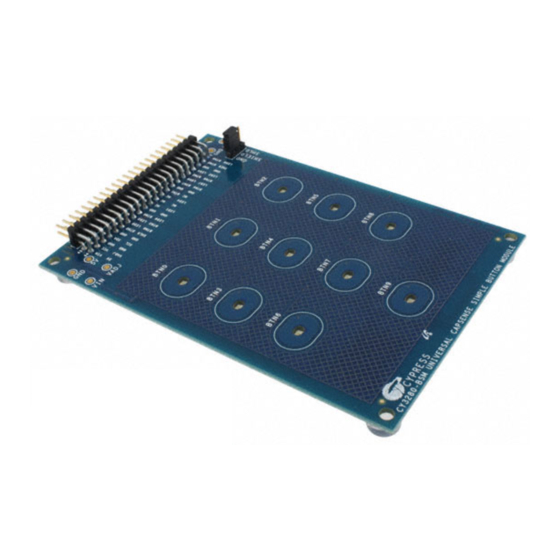
Cypress Semiconductor CapSense CY3280-BSM Universal Mulai Cepat - Halaman 3
Jelajahi secara online atau unduh pdf Mulai Cepat untuk Unit Kontrol Cypress Semiconductor CapSense CY3280-BSM Universal. Cypress Semiconductor CapSense CY3280-BSM Universal 4 halaman. Simple button module kit

3. Getting Started
The CY3280-BSM board can be used with any of the UCC (Universal CapSense
controller) boards. The example firmware is available on the CD/DVD. Insert the
CY3280-BSM Kit CD/DVD into the CD/DVD drive of your PC, and follow the
instructions on the screen to complete the installation.
4. Setup the Board
This section demonstrates the setup of CY3280-BSM with CY3280-20x34 Universal
CapSense Controller. Similar procedure is used for all UCC boards.
■
Connect the CY3280-BSM board to the CY3280-20x34 Universal CapSense
Controller board's P2 receptacle connector.
■
In CY3280-20x34 UCC board place shunts on pins 2 and 3 of J1 and pins 1 and 2
of J4.
■
In CY3280-BSM board place shunts on pins 2 and 3 of J2.
■
Connect your computer to the CY3280-20x34 Universal CapSense Controller
board's ISSP connector (J3) using a PSoC MiniProg and a USB cable.
■
Open PSoC Programmer by going to Windows Start > All Programs >
Cypress > PSoC Programming 3.05 > PSoC Programmer.
■
Select MiniProg 1 from Port Selection view in the Programmer window.
■
Message Successfully Connected to MINIProg.....MINI Version 1.75 appears in
the Actions pane.
Note: If MiniProg Version is older than 1.75, go to Utilities and click on Update
Firmware icon.
■
Confirm that the Programming Parameters are as shown in the figure on page 4.
■
Click File Load, navigate to, and open the CY3280_20x34_PD_Project1.hex file
on CD/DVD at: Firmware\HexFiles
■
Click the Program icon. After the programming is complete Programming
Succeeded appears in the Actions pane.
■
Click Toggle Device Power button. The Power LEDs D1, D2 on the CY3280-
20x34 UCC board lights up. Corresponding LEDs on other UCC board's lights up.
P2
D1, D2
J3
[+] Feedback
Page 3
