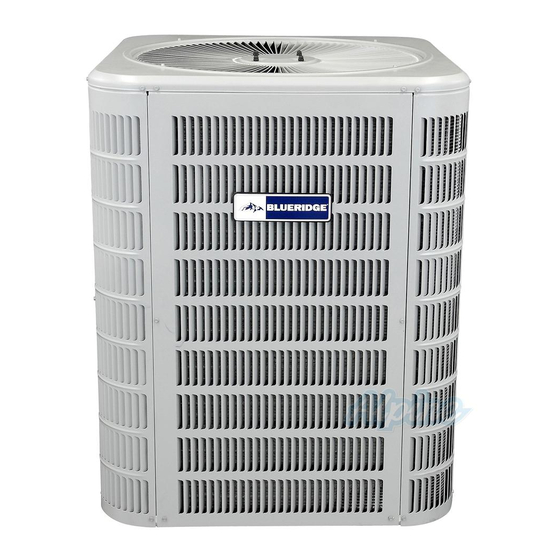
Blueridge BA13 Panduan Petunjuk Instalasi - Halaman 4
Jelajahi secara online atau unduh pdf Panduan Petunjuk Instalasi untuk Pendingin Udara Blueridge BA13. Blueridge BA13 19 halaman. Single stage
Juga untuk Blueridge BA13: Panduan Petunjuk Instalasi (9 halaman)

make connections at evaporator and condenser. Under no
circumstances leave the lines open to the atmosphere for
any period of time, if so unit requires additional evacuation
to remove moisture.
Model
Liquid Line
18
24
30
36
41
42
47
48
59
60
* Fittings should be supplied by the installer.
Table 3.
Be extra careful with sharp bends. Tubing can "kink" very
easily, and if this occurs, the entire tube length will have
to be replaced. Extra care at this time will eliminate future
service problems.
It is recommended that vertical suction risers not be up-
sized. Proper oil return to the compressor should be
maintained with suction gas velocity.
Filter Drier
The filter drier is very important for proper system operation
and reliability. If the drier is shipped loose, it must be
installed by the installer in the field. Unit warranty will be
void, if the drier is not installed.
Installation of Line Sets
DO NOT fasten liquid or suction lines in direct contact with
the floor or ceiling joist. Use an insulated or suspension
type of hanger. Keep both lines separate, and always
insulate the suction line. Liquid line runs (30 feet or more)
in an attic will require insulation. Route refrigeration line
sets to minimize length.
DO NOT let refrigerant lines come in direct contact with
foundation. When running refrigerant lines through the
foundation or wall, openings should allow for a sound
and vibration absorbing material to be placed or installed
between tubing and foundation. Any gap between
foundation or wall and refrigerant lines should be filled with
a vibration damping material.
Page 4 of 19
Line Sizes
Suction Line
3/8
3/4
3/8
3/4
3/8
3/4
3/8
7/8
3/8
7/8
3/8
7/8
3/8
7/8
3/8
7/8
3/8
1-1/8
3/8
1-1/8
If ANY refrigerant tubing is required to be buried by state
or local codes, provide a 6 inch vertical rise at service
valve.
Installation into an Existing R-22 System
If the unit will be installed in an existing system that uses
an indoor unit or line sets charged with R-22 refrigerant,
installer must perform the following procedures to convert
the system to an R-410A system.
Remove Existing Fixed Orifice (if applicable)
1. On fully cased coils, remove the coil access and
plumbing panels.
2.
Remove any shipping clamps from the liquid line and
distributor assembly.
3.
Using two wrenches, disconnect liquid line from liquid
line orifice housing. Take care not to twist or damage
distributor tubes during this process.
4.
Remove and discard fixed orifice, valve stem assembly
(if present) and Teflon® washer (see Figure 3).
5.
Use a field-provided fitting to temporarily reconnect the
liquid line to the indoor unit's liquid line orifice housing.
DISTRIBUTOR
ASSEMBLY
Figure 3. Remove Existing Fixed Orifice
Remove Existing Expansion Valve (if applicable)
1. On fully cased coils, remove the coil access and
plumbing panels.
2.
Remove any shipping clamps from the liquid line and
distributor assembly.
3.
Disconnect the equalizer line from the check expansion
valve equalizer line fitting on the vapor line.
4.
Remove the vapor line sensing bulb.
5.
Disconnect the liquid line from the check expansion
valve at the liquid line assembly.
6.
Disconnect the check expansion valve from the liquid
Issue 2212
CAUTION
DISTRIBUTOR TUBES
LIQUID LINE ORIFICE HOUSING
®
TEFLON
RING
FIXED ORIFICE
REMOVE AND DISCARD
®
WHITE TEFLON
SEAL
(IF PRESENT)
LIQUID LINE ASSEMBLY
(INCLUDES STRAINER)
(uncased coil shown)
BRASS NUT
508255-01
