amberroot 0B2 Panduan Pengguna - Halaman 10
Jelajahi secara online atau unduh pdf Panduan Pengguna untuk Pengisi Daya Baterai amberroot 0B2. amberroot 0B2 17 halaman. Solar mppt charger for upgrading inverters
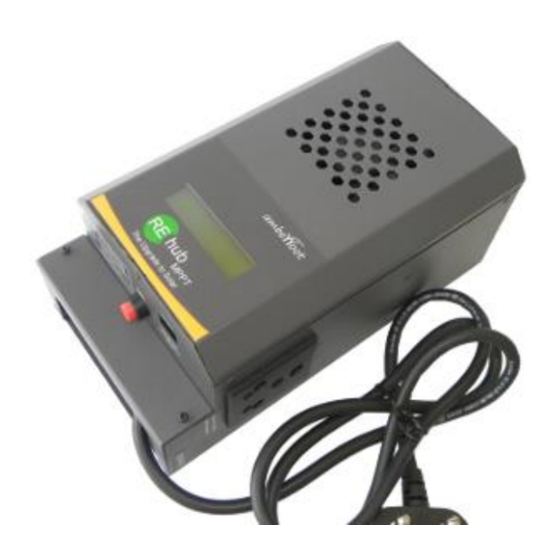
6 Powering Up
It is not mandatory to connect the terminals in a particular order. However, connecting
the battery terminals will energize and start the unit. Therefore, COMPLETE THE OTHER
CONNECTIONS BEFORE CONNECTING THE BATTERIES. Keep the -Ve Battery cable from
REhub open till the last when you are ready to power up. Before energizing the equipment,
recheck the polarity and the connections. Keep the MAINS MCB switched off.
A. Completing the PV+ and PV - connections.
Check the voltage between PV+ and PV- wires before closing the PV -ve. You will get a
voltage approximately equal to the open circuit voltage of the array.
Note if the installation is being done in the night you will not get the Voc value but likely
to get a Voltage much lesser.
B. Connecting the battery: On the BAT+Ve and BAT-Ve terminals.
Remove the cable from the battery -Ve terminal of the Inverter from the battery terminal
and connect to REhub.
Check the battery terminal voltage. Make sure you have chosen the right battery system
voltage for the REhub.
A 12V battery system will have voltage between 10.8V to 14V. A 24V battery is likely to
have a Voltage between 22V and 28V. On first time power on REhub will go to Auto Detect
Mode
C. Connecting the AC live from Mains connection.
Switch on the AC MCB. Put the Inverter to normal mode. Do this after REhub MPPT
recognizes the battery system voltage and starts functioning. IF YOU GET A BATT
PROTECTION TRIP ERROR – wait and the unit recovers and starts up again.
Take care not to swap Solar PV and Battery connections. The unit is not protected for
such a swap. The unit will not power up if batteries are connected in reverse polarity. If
PV polarity is swapped, the unit will show Solar as 'LOW'.
7 Battery Charging Routine and REhub Operation
7.1 REhub Operation
REhub prioritizes keeping the batteries charged for sufficient back up. There are two
sources of energy to deliver power to the batteries. Solar PV panels and the Grid Mains
through the back up Inverter. REhub extracts power from the Solar Panel using a high
efficiency MPPT based charger. MPPT stands for Maximum Power Point Tracking and the
unit extracts power from the Solar panels at the voltage and current that delivers the
maximum power (called the Maximum Power Point). Since this Maximum Power voltage
and current Varies, the Unit uses sophisticated algorithms to 'Track' this maximum power
point. Additionally, REhub allows the conversion of existing Inverters to Solar based
systems. REhub does this by controlling the Mains Input to the Inverter and monitoring
the net current delivered to the batteries. At all times, REhub ensures that the batteries
are kept absolutely safe and maximum Solar power is used to power the Loads. REhub is
designed to work with Inverters of any make (12V or 24V). However, it is advisable to use
REhub with efficient, Pure Sine Wave Output Inverters.
Determine the approximate Loads (daytime Load connected to the Inverters) and match
the number of Solar panels installed so that the energy generated per day is approximately
equal to the energy consumed by the loads for best results with your Solar addition.
REhub functions in the following manner:
•
When Batteries are discharged – the batteries are charged using both the Solar PV
and Grid if Mains power is available.
10
Ver 7.0
User Manual