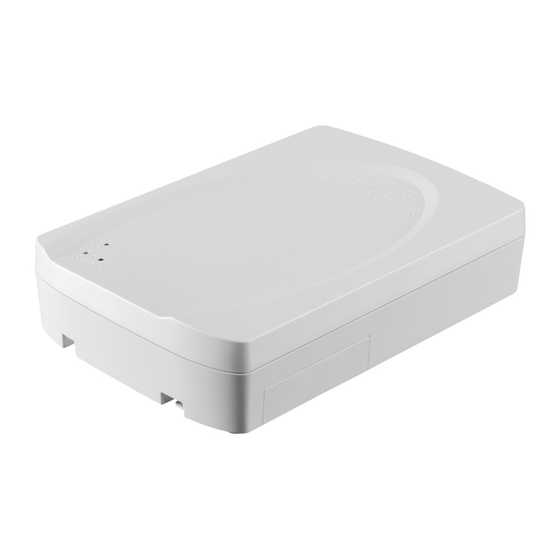
Egardia Extender Panduan Instalasi - Halaman 4
Jelajahi secara online atau unduh pdf Panduan Instalasi untuk Pemanjang Egardia Extender. Egardia Extender 5 halaman. Egardia extender installation guide

If you plan to use 2
extenders the distance
between both extenders
should be at least 20
meters. This to prevent
interference.
5.
Switch the battery switch of the extender to "ON" and set DIP switch number 1 to "ON". The
red indicator light will glow to indicate that the extender is ready for installation.
6.
Login to your Egardia account and go to the tab "Alarm system". Click under heading
"Accessories" on "Change settings".
7.
Click "Set bell box" and select "Install".
8.
Select "Confirm". The extender emits a confirmation sound. The bell box is registered with the
extender.
9.
Set DIP switch number 1 to "OFF". The red indicator light extinguishes. The extender returns
to normal operation. Do not replace the cover yet.
STEP 3: CHECK AND TEST
To make sure that the extender functions correctly it is advisable to test the extender.
1.
Set DIP switch number 2 to "ON". The red indicator light flashes.
2.
Test accessory:
o
Press the register button of the accessory. The extender beeps once and the yellow
indicator light flashes once. The red indicator light dims.
o
Repeat this step for all registered accessories.
3.
Test bell box:
o
Login to your Egardia account and go to the tab "Alarm system".
o
Click under heading "Accessories" on "Change settings".
o
Click "Set bell box" and select "Install".
o
Select "Confirm". The extender beeps once and the yellow indicator light flashes
once. The red indicator light dims.
4.
When you are ready testing of the extender set DIP switch number 2 to "OFF". The red
indicator light extinguishes. The extender returns to normal operation. Replace the cover at the
backside of the extender.
STEP 4: MOUNT EXTENDER
You can place the extender everywhere. For example above a cupboard but also mounted on a
wall.
Important guidelines
Maintain a distance of at least 20 meters between the extender and the gateway.
The optimal location for the extender is at eye-level so that the indicator lights are easily
visible.
Instructions
1.
Use the pre-punched holes in the mounting bracket to mark the drill holes on the wall.
2.
Drill the holes and use the plugs for stone or plaster walls.
3.
Secure the mounting bracket to the wall using the screws.
4.
Secure the extender to the mounting bracket.
Congratulations! The installation is complete.
MAINTENANCE
Emergency battery
The extender has an internal 7,2V 600mAH Ni-Mh battery as an emergency power supply. . The
extender itself will indicate when the internal battery is low. The internal battery is charged when the
extender is connected to a power supply. When the battery is fully charged the extender can
function for approximately 24 hours without connection to a power supply. When the internal battery
is low the yellow indicator light will start to glow. This yellow indicator light will extinguish when the
internal battery is sufficiently recharged.
3
