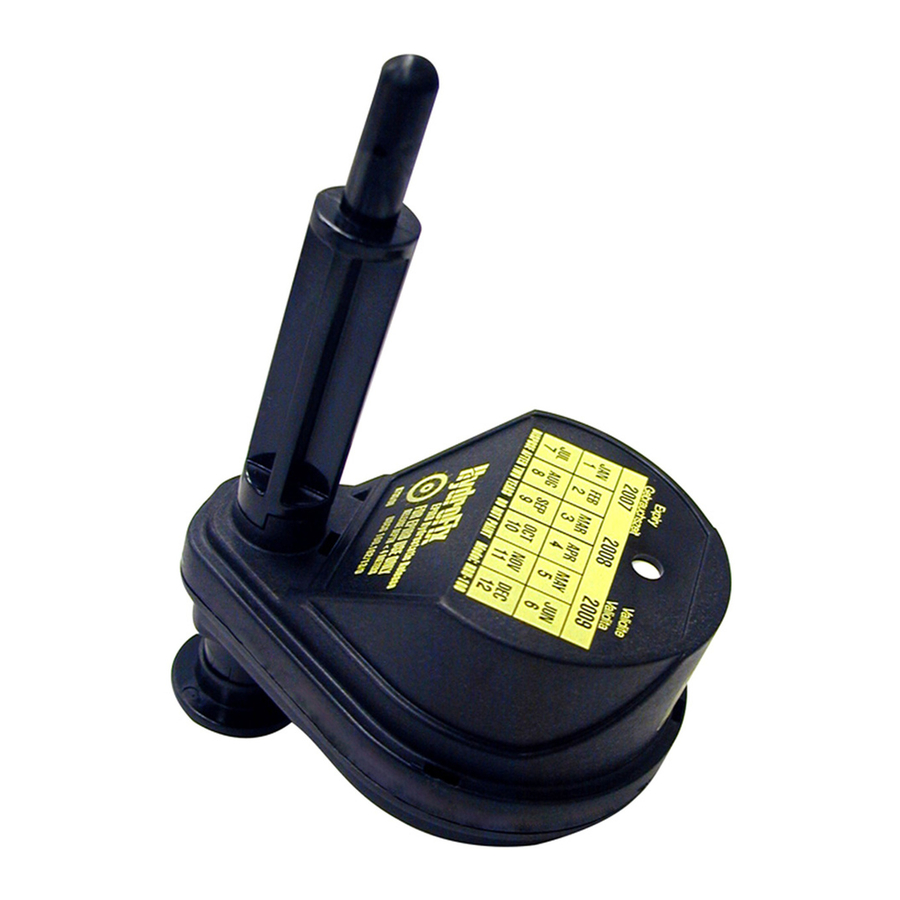
ACR Electronics HydroFix HRU-100 Manual Prosedur Instalasi - Halaman 14
Jelajahi secara online atau unduh pdf Manual Prosedur Instalasi untuk Perangkat Keamanan Laut ACR Electronics HydroFix HRU-100. ACR Electronics HydroFix HRU-100 18 halaman. Acr electronics hydrostatic release unit installation manual

SECTION 7 – INSTALLING THE HRU IN AN OPEN
FACED BRACKET
The ACR open faced bracket is a
discontinued product that looks like this:
Contents of the HydroFix™ HRU Kit that you will need:
HydroFix™ Replacement
Hydrostatic Release unit (E)
Open faced release rod (C)
2 Mounting bracket adapters (J)
Mounting rod adapter, metal (L)
Small cotter pin (G)
4 Mounting bracket screws (F)
HRU Expiration Label (K)
Slotted spring pin (I)
Tools required: Phillips-head screwdriver,
pliers
Instructions:
1.) Unscrew the four side screws removing the front cover from the
bottom mounting plate, keeping the screws.
2.) Unscrew the spring loaded HRU Rod from the bracket and remove
the expired HRU. Discard all HRU rods and components.
3.) Align mounting bracket adapters (J) with the screw holes on the
bottom mounting plate (see Figure A).
4.) Using the 4 screws removed from the front cover; loosely attach
mounting bracket adapters (J) to the bottom mounting plate. Some
adjustments may be needed to align the bracket screw holes with
the screw holes on the bottom mounting plate.
5.) Mark the expiry date on the HRU according to the instructions in
Section 3.
Y1-06-0209G
13
