ACR Electronics HydroFix HRU-100 Manual Prosedur Instalasi - Halaman 17
Jelajahi secara online atau unduh pdf Manual Prosedur Instalasi untuk Perangkat Keamanan Laut ACR Electronics HydroFix HRU-100. ACR Electronics HydroFix HRU-100 18 halaman. Acr electronics hydrostatic release unit installation manual

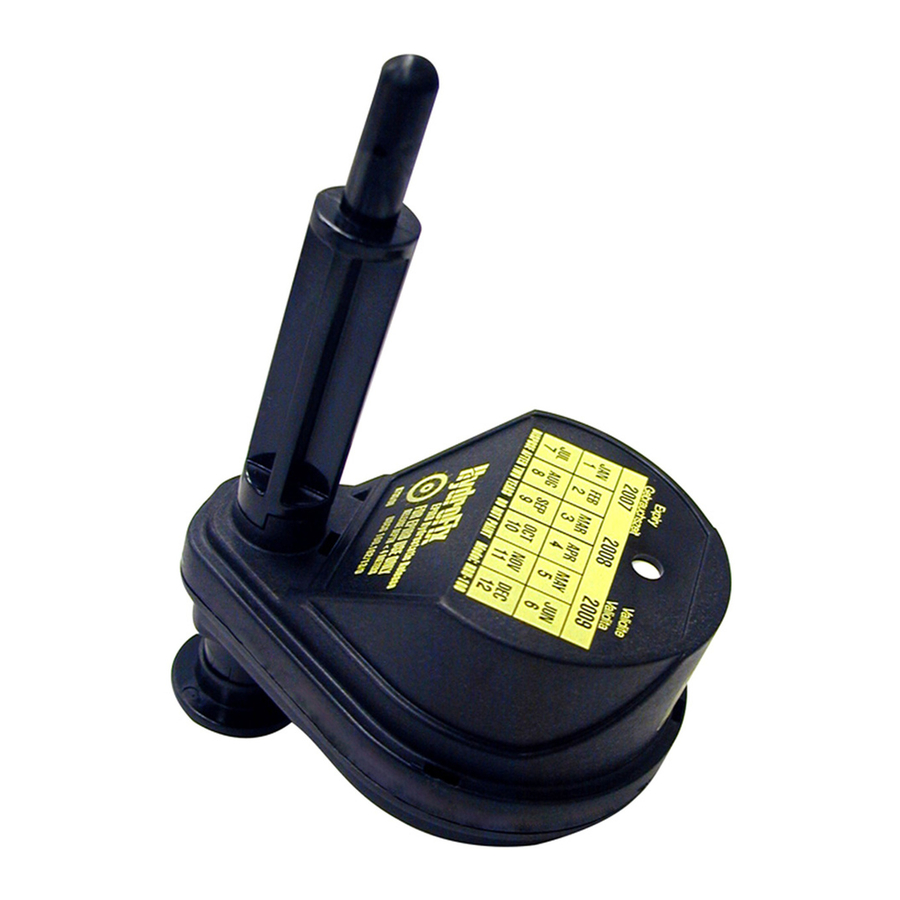
7.) Record the expiration date on the HRU expiration label (K) with an
indelible marker.
8.) Push the release spring back against the bracket aligning the holes
on the spring with the holes in the back cover of the bracket.
9.) Take the assembled HRU and place the washer end of the HRU
through the larger top hole and slide down into the smaller slot.
10.) This will lock the HRU and spring
into place. Carefully release the
HRU and make sure it is securely in
place.
11.) Carefully place your beacon into the
bracket.
12.) Place the top cover on top of the
bottom cover and maneuver the
HRU rod to come out the rod hole
on the bracket.
13.) Make sure the bottom hinge and the
top bracket are securely connected.
14.) Place a cotter pin into the top of the
HRU release rod locking the bracket together.
15.) Place the cotter pin into the hole closest to the front cover ensuring
a secure and snug fit.
NOTE: The release rod contains multiple holes on the end to secure the
front cover to the back cover.
16.) Place HRU expiration label (K) on the outside of your bracket in a
visible location.
Y1-06-0209G
Figure B
16
