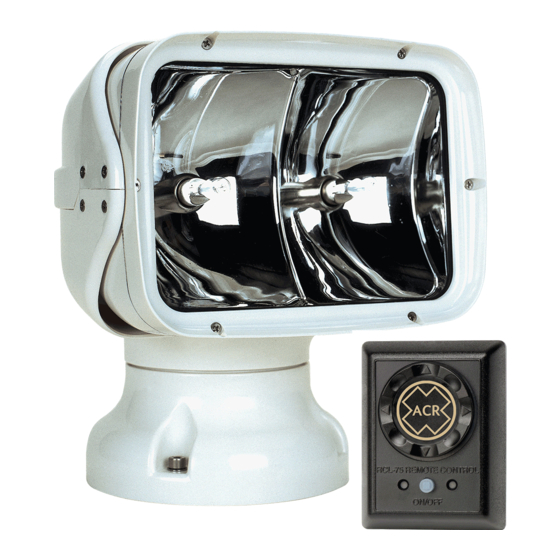
ACR Electronics RCL-75 Panduan Dukungan Produk - Halaman 8
Jelajahi secara online atau unduh pdf Panduan Dukungan Produk untuk Lampu Banjir ACR Electronics RCL-75. ACR Electronics RCL-75 15 halaman. Remote control searchlight system
Juga untuk ACR Electronics RCL-75: Panduan Dukungan Produk (20 halaman), Panduan Dukungan Produk (20 halaman)

FIGURE 4
5.4.1 Surface Preparation for light
Make sure surface is clean and dry. Verify that drill holes will not impact or harm other items
(wires, plumbing, hardware or bulkheads). Decide on the use of screws or bolts. Can the
backside of mounting surface be reached to install nuts and washers?
Note: If the mounting surface is not flat, a special shapeable plate can be purchased, (P/N
9427), to adapt the light base to the surface. This plate can also be used to raise the light 1" if
desired. (see Figure 4)
Drill 4 mounting holes (1/4") and a centered cable clearance hole (3/4"). Put the mounting
gasket on the deck mount (or shaped plate, if used). Use caulk or bedding compound to seal
bolt and wire holes before deck mount is attached to deck. The plates are keyed to each other
and to the light, be sure the arrows are pointing in the correct direction. (the light will rotate
180° either way from the arrows).
Use marine grade 316 stainless steel bolts, nuts, and lock washers to fasten the plate(s) to the
mounting surface. Install and connect the control cable and (+) Red and (-) Black power leads.
Seal hole if desired. Leave at least 8" of wire coiled in the base of light to allow for servicing.
(see Figure 5)
Seat the light assembly on the deck mount. Make sure the key is mated and the gasket edge is
not pinched. Reinstall the four (4 ) stainless steel Allen bolts with the flat washer next to the
plastic and the lock washer under the bolt head. (Allen wrench for these bolts is furnished).
Tighten securely.
6
Y1-03-0158 Rev. D
