Ambirad AR22/36' SL Manuale di installazione e manutenzione - Pagina 8
Sfoglia online o scarica il pdf Manuale di installazione e manutenzione per Riscaldatore a gas Ambirad AR22/36' SL. Ambirad AR22/36' SL 20. Gas fired radiant tube heaters

- 1. Table of Contents
- 2. AR and ARE Series Gas Fired
- 3. Gas Connection
- 4. Standards
- 5. Assembly Instructions
- 6. Fitting Reflectors and End Caps
- 7. Burner/Fan/Damper Assembly
- 8. AR and ARE Series Double Linear
- 9. HB and DL Damper Settings
- 9. Installation – Suggested Methods
- 9. Of Heater Suspension
- 10. Flue Connection
- 11. Commissioning for Individually
- 12. Routine Service
- 13. Trouble Shooting Checklist
- 14. User Instructions for Ambi-Rad
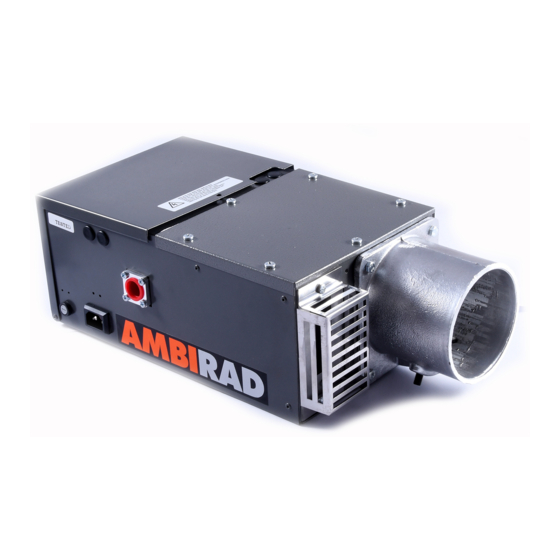
9 Burner/fan/damper assembly
Slide the burner control assembly onto the
right hand tube (when viewed from the
open ends of the tubes) ensuring it is fully
engaged.
Note For both horizontal and inclined
mounting the burner assembly must be
perfectly horizontal with the burner
indicating lights facing downwards.
Slide fan/damper assembly onto left hand
tube ensuring it is fully engaged. The fan
discharge outlet should face vertically
upwards if heater is to be individually flued
or horizontally away from burner if unflued.
Where the damper assembly is fitted the
damper blade must be in the vertical plane.
Secure with pinch screw.
8
Figure 4 Fixing brackets
Figure 5 Type 'A' and Type 'B' brackets
Figure 6 Swaged joint detail
NOTE: Do not over tighten the Grub screws
into the mild steel tube. Finger tight is
sufficient to allow for thermal expansion,
but locking nuts must be tightened with
a spanner.
Swaged joint detail
HORIZONTAL
ONLY
NOTE: Joint must always be horizontal
to floor, even if the heater is wall
mounted at an angle.
