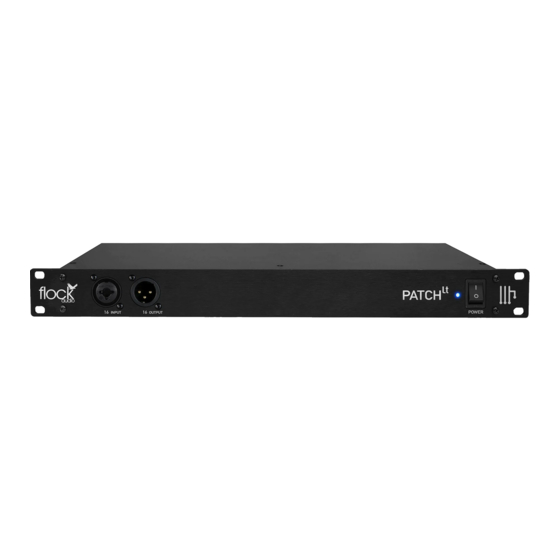
Flock Audio PATCH Manuale d'uso - Pagina 17
Sfoglia online o scarica il pdf Manuale d'uso per Impianto stereo Flock Audio PATCH. Flock Audio PATCH 20.

TROUBLESHOOTING
PATCH Unit doesn't power on.
PATCH Hardware & Software not communicating.
PATCH APP Download & Install error.
48V Phantom Power is not working.
PATCH APP Software is launching but not
appearing on screen
There is a light humming or whirring noise coming
from the left side of my PATCH System.
Slight popping or clicking sometimes when
rearranging Active Racks.
The PATCH System self-shutdown and/or rebooted
itself during use.
Experiencing a noise floor increase when using
certain microphones directly connected to PATCH.
Front Inputs or Outputs are not working.
The PATCH System is not responding properly or
behaving unexpectedly.
PATCH
MANUAL
lt
Troubleshooting Tips
-
Confirm 24VDC Power supply pin insertion is properly connected and threaded locking sleeve is hand tightened.
-
Confirm front panel rocker switch is pushed in upwards position showing vertical line "|" icon & blue LED power indicator is illuminated.
-
Confirm that wall power source is working by plugging in another device.
-
Confirm that supplied (USB-A to USB-B) cable is fully inserted into the rear side of the PATCH LT Hardware Unit and corresponding CPU controller.
-
Confirm whether the Signal Host Blue LED is illuminated Solid Blue or Flashing.
-
Close the PATCH APP Software and turn off the PATCH LT Hardware Unit. Wait 30 seconds and turn on the PATCH LT Hardware Unit & Reopen PATCH
APP Software.
-
If the Host Signal LED on the Hardware Unit is solid but the Host Signal Indicator in the PATCH APP is flashing, you must click Settings > Multiple Unit
Setup and ensure that your PATCH LT Serial Number is in the first slot, then click Save Setup.
-
Try a different USB-A to USB-B Cable.
-
Confirm that your CPU Security/Privacy (&/or) Firewall are not restricting the PATCH APP Software to properly install. Mac OSX users may experience an
"Unrecognized developer error" that requires opening "User Preferences > Security & Privacy > Open Application Anyways".
-
Confirm that 48V icon is illuminated in Blue & your microphone is placed in the first Digital Rack Space Slot.
-
Confirm that the 48V Master Bypass Switch in the Hardware Setup Menu is placed in the "On" position.
-
Confirm that your microphone is connected to the proper Input # on the rear side of the unit with the corresponding Digital Rack Space #.
-
If your PATCH APP Software is not appearing on your chosen display screen. Use the Key Command "Shift + F1" to reset the PATCH APP's screen position
(Windows)
-
Navigate to the "File" tab next to the Apple logo on the top left of your screen, and select "Reset Window Size". (Mac)
-
The PATCH LT Hardware Unit is equipped with a small cooling fan that is mounted on the right side of the Hardware Unit. This small cooling fan is
controlled by a thermostat that will engage and disengage during the use of your System & change speeds depending on the amount of cooling required.
Fan Controls can be customized by going "Settings > User Preferences > Hardware Fan Controls"
-
Never block or restrict airflow to the PATCH LT Hardware Unit. Always Ensure this Fan is not blocked by cables or anything else restrictive.
-
It is completely normal to sometimes hear slight popping or clicking when rearranging active digital rack spaces during playback. This popping or clicking
is a result based upon the type of audio signal currently being played through the PATCH LT system.
-
The PATCH LT Hardware Unit is equipped with a failsafe temperature sensor that will shut the system down to avoid any internal damage if overheating is
present. It is not recommended to have the PATCH LT Hardware unit mounted directly near any hot or tube based hardware units as this may result in
tripping the failsafe temperature sensor.
-
The PATCH LT Hardware Unit is also equipped with a small internal fan to help assist with internal heat removal.
- The PATCH LT System is a Professional +4 Line Level device not a microphone level device. Most microphones directly connected to the PATCH LT System
will not exhibit any noise floor increases but if you are experiencing an increased noise floor (I.E. Auditable Hiss) we recommend boosting the microphone
level prior to connecting to PATCH. (I.E. MIC -> dB Booster or Transparent Preamp -> PATCH).
-
Confirm that the "Front Inputs" or "Front Outputs" toggle switches are engaged. When engaged there will be a Blue dot located next to the switches in the
PATCH APP Software.
-
(If) using Multi-Unit setup, confirm that "Front I/O Toggle Controls" in the bottom right side corner is selected to all units.
-
Export all previously saved routings and Hardware Setup Menu settings. Ensure these are stored in a safe back-up folder. Open the Settings > Restore to
Factory and allow the System to completely restore back to Factory Default Settings. Once performed, turn off the PATCH Hardware System, Close and
Delete the PATCH APP application. Reinstall the latest PATCH APP Software version and turn on the Hardware, followed by reimporting all Saved Routings
& Hardware Setups.
-
(If) problem persists, please contact Support (www.flockaudio.com/support)
17
TROUBLESHOOTING
