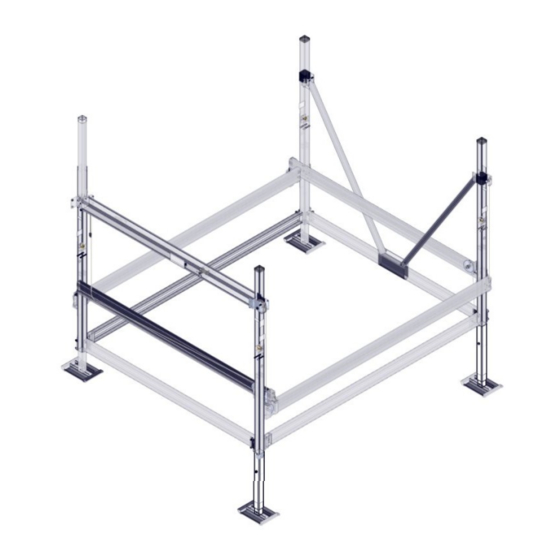
Floe VSD 6000 Manuale di istruzioni per il montaggio - Pagina 9
Sfoglia online o scarica il pdf Manuale di istruzioni per il montaggio per Attrezzatura per la nautica Floe VSD 6000. Floe VSD 6000 12. Full length pontoon & tri-toon bunks large lifts
Anche per Floe VSD 6000: Manuale di istruzioni per il montaggio (12 pagine), Manuale di istruzioni per il montaggio (8 pagine), Manuale di istruzioni per il montaggio (16 pagine)

ST EP 5
Attach the lifting cable clevis to the cradle lift
clamp using a 3/ 4-16 x 2" bolt (fine thread). Make
sure the bolt is seated in the slot of the clamp when
tightening the cable clevis. Insert the 2" sheave
into the cable loop and attach to to cable clevis
using a 3/ 4 x 3" bolt and nut. See Fig. 5A.
Place the side cradle beams as shown with holes
on top in the rear. The front cradle beam should
be placed so the cable runs over the top of the
pulley on the lifting side. See front cable
orientation to the right.
Slide (1) cradle clamp over each end of the front
and rear cradle beams. Place (1) cradle U-clamp
over each side cradle so it is flush with the end.
Attach the rear cradle beam by sliding the cradle
clamps over the cradle U-clamps. Slide a cradle
clamp over each end of the rear cradle beam and
U-clamp. See Fig. 5B and 5D.
Cradle is fastened together using (8) 1/ 2" x 2"
bolts and (8) 1/ 2" nylock nuts. Allow 1/ 4" gap
between the side cradle and corner post as
shown in Fig. 5C. Torque to 100 ft/ lbs.
2" Sheave
3/ 4" nut
Lifting
cable clevis
3/ 4-16 x
2" bolt
Fig. 5A
Cradle lift clamp
Cable loop
3/ 4 x 3" bolt
Fig. 5B
Fig. 5B
Cradle U-clamp
Front cradle
1/ 2 x 2" bolt
1/ 2" nylock nut
1/ 4" Space
Between
UHMW Wear
Pad and
Corner Post
Side cradle beam
SHEET 9 OF 12
Side cradle flush with
front & rear cradle
Corner
post
Cradle guide
Fig. 5C
Fig. 5D
Front cradle cable
arrangement
Fig. 5D
