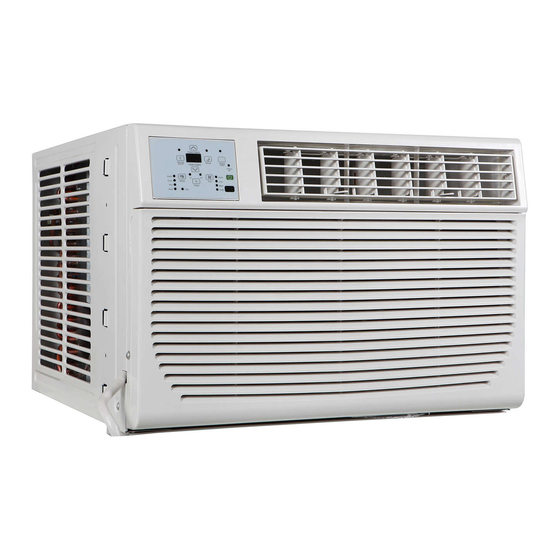
Coast-Air CEG-123A Manuale di istruzioni per l'installazione e il funzionamento - Pagina 8
Sfoglia online o scarica il pdf Manuale di istruzioni per l'installazione e il funzionamento per Condizionatore d'aria Coast-Air CEG-123A. Coast-Air CEG-123A 17.

Installation and Operation Instruction Manual
INSTALLATION INSTRUCTIONS
Attach foam adhesive seal:
Attach foam adhesive seal along the bottom of the curtain bottom channel (FIG.8).
FIG.8
A
B
A. Curtain housing
B. Foam adhesive seal
Install Cabinet into Window:
1. Center empty cabinet in window:
Check that lower rail of air conditioner cabinet is behind and against back side of window sill. Maintain
a firm hold on the air conditioner cabinet (FIG.9). Lower window sash to hold the cabinet in place.
Measure the distance between the right side of the cabinet and the inside of the window channel
(FIG.10). Repeat for the left side. Adjust the cabinet until the distance on each side is the same.
2. Attach the cabinet to window:
A: For wooden window:
Use a 3/16 drill bit to drill three starter holes 3/8 deep through the three holes in the cabinet and into
the window sill,and drill one starter hole 3/8 deep through the hole in the middle of top rail and into the
window frame (FIG.11). Attach cabinet to window with three #10 x 1/2 pan-head Phillips screws and
one #10 X 3/4
or (1/2 )round-head screw (FIG.11).
B: For Vinyl-Clad window:
Use a 1/8 drill bit to drill one hole through the hole in the middle of top rail and into the window frame.
Attach cabinet to window with one #10 x 3/4 or(1/2 )round-head Phillips screw (FIG.11). Place two
safety locks into the holes that located in the bottom of the cabinet and drive two locking screws
through the safety locks into the cabinet as shown (FIG.12)
3. Check that air conditioner cabinet is tilted back about 1 / to1 /
After proper installation, condensate should not drain from the overflow drain hole during 'n ormal' u se, correct the
slope otherwise.
(See F IG.13).
FIG .11
B
C
A A
A
A.
(
)
C. Window channel
Attach Side Curtains to Window Frame:
1. Extend the side curtains out against the window frame
(FIG.11).
2. Drill holes and drive locking screws:
A: For wooden windows:
Use a 3/32" drill bit to drill 4 starter holes through the holes in the side
curtains into the window. Drive four #10 X 3/4" or (1/2") locking
screws through the holes in the side curtains into the window sill and
window frame(FIG.14A, FIG.14B).
B: For Vinyl-Clad windows:
Use a 1/8" drill bit to drill two holes through the holes in the side
curtains into the window frame as shown (FIG.14A). Drive two #10 X
3/4" or (1/2") locking screws through the holes in the side curtains
into the window sash (FIG.14A)
3. Trim the weather seal (6" X 3/4" X 1/12") to the proper length,
peel off the protective backing and plug any gaps if needed
as shown (FIG.14B).
www.coastair-ac.com
FIG.9
Angle of cabinet
bracket securely seated
on edge of inner sill.
cabi n et
window
Bracket
inner sill
window
outer sill
FIG.12
A
B
A.
Pan-head Phillips screws
B. Safety Lock
Only for Vinly-Clad Window
8
7
FIG.10
A. Window sash
B. Empty cabinet
C. Window channel
1
1
(tilted about 3 t o 4 downward t o th e o utside).
O
8
2
FIG.13
Window Sash
Measure
from the
cabinet
edge.
A
FIG.14A
B
C
A. Window channel
B. Left-hand curtain
(
)
screw
CEG-81A & CEG-123A
A
B
C
O
About 1 / to 1 /
1
1
8
2
Side Louvers
Window Sill
FIG.14B
A
B
(
)
A.
screw
B. Slotted hole in the
bottom of the curtain
