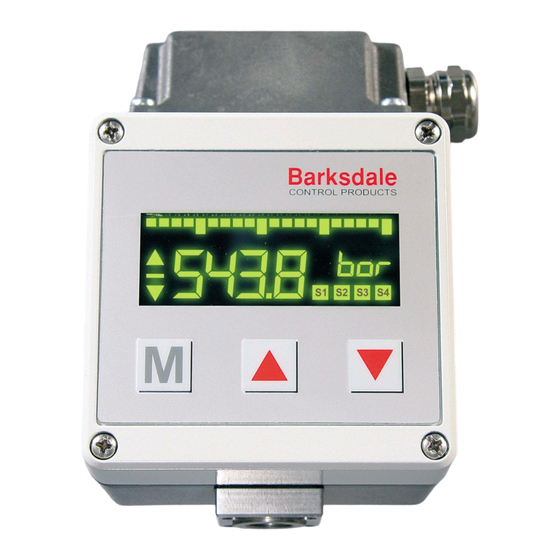
Barksdale UDS 3 Istruzioni per l'uso
Sfoglia online o scarica il pdf Istruzioni per l'uso per Interruttore Barksdale UDS 3. Barksdale UDS 3 4. Pressure switch with 4 relay outputs and trip amplifier

3. Operating elements
Sign
Trend arrows
Menu buttons
Electrical
Analog output
connection
Analog-GND (0 V)
4...20 mA (0...10 V)
Current supply
0 V
Switch contacts
+18 V DC...+30V DC
S4
S3
S2
S1
Protective
load
M4
S4
S3
S2
S1
Sensor connection UAS 3
acc. DIN 43650
Signal
gn
1 = +Ub
1
2 = –Ub (*)
–Ub
+Ub
bn
3 = Signal
2
ws
3
(*) in combination with 2-wire circuit pin 2 is not required.
Barksdale GmbH
Dorn-Assenheimer Strasse 27
D-61203 Reichelsheim / Germany
Tel.: +49 - 60 35 - 9 49-0
Fax: +49 - 60 35 - 9 49-111 and 9 49-113
e-mail: [email protected]
www.barksdale.de
2
20-part bargraph
8-digit 14-segment display
Switchpoint display SP1...SP4
Cover screws
UB –12 V
max. R
=
L
20 mA
(max. 10 mA)
Contact rating
: max. 120 V DC / 250 V AC
Switching power
: max. 120 W / 1250 V AC
Switching capacitiy : 220 V AC / 3 A VDE 0660 T.2
Constant current
: max. 5 A
Switching rate
: max. 20/s
Analog measuring input
By choice:
Current input
: 4...20 mA
Voltage input
: 0...10 V DC
Resistance input
: Poti (500 Ohm...100 kOhm)
Item-Nr.: 923-1196
Software version: V1. or higher
Index C, 08. 06. 2004
Specifications are subject to
changes without notice.
Operating Instructions Pressure Switch UDS 3 with 4 Relay Outputs
and Trip Amplifier UAS 3
Dimensions (in mm)
optional Pg 13,5
UDS 3
Pg 13,5
Pressure conn.
1. Product description
Intended applications
- The pressure switch / trip amplifier is a device to monitor system pressure, temperature, flow, level,
etc. and has four switching outputs and one analog output.
- The pressure switch is only to be installed in systems where the maximum pressure Pmax is not
exceeded (according to the values on the type label).
- The trip amplifier is only to be connected to input signals according to the values on the type label at
the bottom side of the device.
- Attention: This device is not designed to be used as the only safety relevant element in pressurized
systems according PED 97/23/EC.
2. Starting operations
Only assemble or disassemble the device when depressurized!
- The pressure switch should be installed and operated only by authorized personel.
-
Front cover and device bottom form a function unit. Exchanging the parts can result in measuring errors
or malfunctioning. See serial number inside the front cover.
screws and the front cover. Then fasten the device with four screws to the wall and finally remount the
front cover. To damp strong vibrations shock mounts must be used.
- Mount the pressure connection (G 1/4 female) of the UDS 3 to the pressure system with a flexible pipe
and tighten with a 45 Nm torque. For pressure peaks damping screws must be used.
- UAS 3: Connect the sensor to the 3-pin cube plug at the bottom side of the device.
- The electrical connection (supply, analog output switching contacts) must be carried out according to
the connection tables depicted on the top of the device by removing the cover cap and insert the cable
through the cable gland PG 13,5. If required, additional cable glands can be installed in the cover cap
by breaking out the perforated cavities.
- The electrical connection must be carried out in accordance with the VDE 0100 regulations. In order to
ensure trouble-free operation it is essential to connect the protective lead.
When operating from 230 V AC loads at the switch contacts independent cables must be installed for
supply and switches (cover cap with two cable screw connections).
- If inductive loads (magnets, contactors, etc.) are connected to the switch relays, suitable protective
devices (varistors etc.) must be provided.
Connection UAS 3
Plug 3-pin
38,5
DIN 43650
4 x ø4,5
Pressure conn.
38,5
For wall mounting remove the four front cover
1
