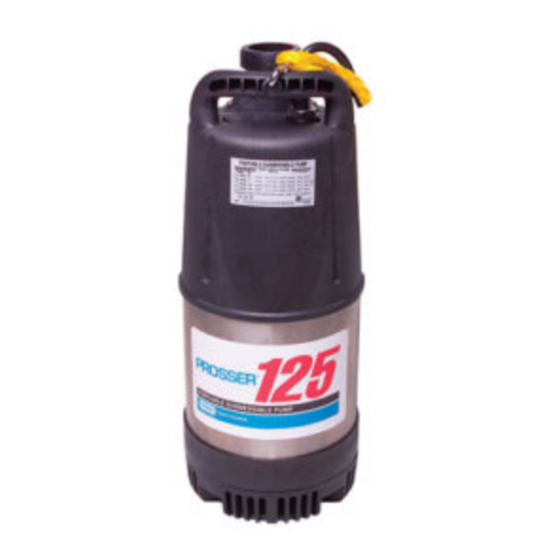
Barnes 126 Manuale di installazione - Pagina 6
Sfoglia online o scarica il pdf Manuale di installazione per Pompa dell'acqua Barnes 126. Barnes 126 13. Portable submersible pump. 0.7 hp, 120 volt 0.7 hp, 240 volt. 1.25 hp, 120 volt 1.25 hp, 240 volt.

TABLE 1 - COOLING OIL - Dielectric
SUPPLIER
Shell
Texaco
Mobile
G & G Oil
F-1.3) Seal Cavity Pressure Test:
Remove the socket head screw (9) and o-ring (8) from
the hole marked "OIL" and check for correct amount of
oil. Apply pipe sealant to pressure gauge assembly and
tighten into hole (See Figure 1). Pressure seal chamber
to 12 PSI and check for leaks. If after fi ve minutes,
the pressure is still holding constant, and no leaks are
observed, slowly bleed the pressure and remove the
gauge assembly. Replace socket head screw (9) with
o-ring (8) using a sealant. If the pressure does not hold,
then the leak must be located and repaired.
F-2) Impeller Replacement:
Please refer to instructions included with the Repair Parts
Kit.
F-3) Mechanical Seal Replacement:
Please refer to instructions included with the Repair Parts
Kit.
F-4) Power Supply Cord Replacement:
Please refer to instructions included with the Repair Parts
Kit.
F-5) Discharge Nozzle Replacement:
Please refer to instructions included with the Repair Parts
Kit.
F-6) Strainer Replacement:
Please refer to instructions included with the Repair Parts
Kit.
GRADE
Turbo oil 32
Rando HD32
D.T.E. Oil Light
Circulating 22
Figure 1
SECTION G - WARRANTY REPAIR AND
REPLACEMENT PARTS
G-1) Information Needed:
Always furnish the following information:
1. Pump Part Number
2. Pump Model Number
3. Pump Date Code
NOTE: Record your pump information here for future
reference.
G-2) Part Number:
The Part Number consists of a six (6) digit number, which
appears in the catalog and page 3 of this manual. This
number is used for ordering and obtaining information.
G-3) Model Number:
This designation consists of numbers and letters which
represents the horsepower, motor phase, voltage and
pump design.
G-4) Date Code:
The Date Code consists of two numbers that are punched
holes in the nameplate. This specifi es the month and year
indicating the date the unit was built.
6
