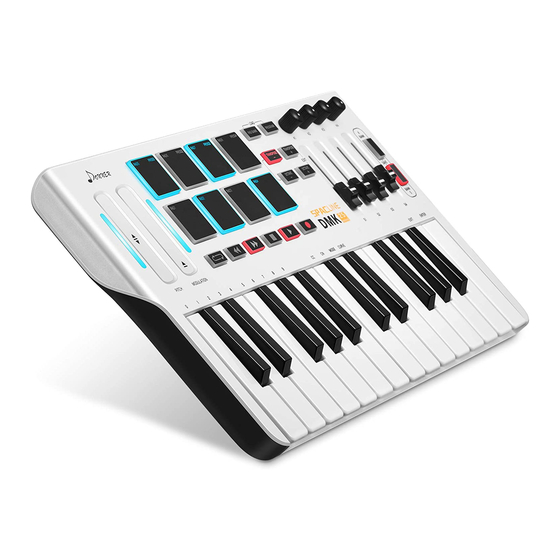
Donner SPACLINE DMK 25 Manuale d'uso - Pagina 5
Sfoglia online o scarica il pdf Manuale d'uso per Tastiera Donner SPACLINE DMK 25. Donner SPACLINE DMK 25 8. Mini midi keyboard
Anche per Donner SPACLINE DMK 25: Manuale (9 pagine)

Editing the Pads
You can set various assignments for each pad in either bank, including MIDI note、 CC message and its
Cn message, PC message and its Cn message. You can also set the MIDI channel over which all of the
pads send their messages.
Tip: See Auto-Populating the Pads to learn how to quickly apply common "patterns" of assignments to
the pads, sparing you the time of having to select each assignment manually.
To select the MIDI note a pad sends, do either of the following:
Click the first Note field within a pad, and select the desired MIDI note value from the pop-up piano roll (C1-G9).
Click the second Note field within a pad, and type the desired MIDI note number (0-127). The MIDI note value will change
accordingly. To select the CC message a pad sends, click the CC field within a pad, and type the desired CC number (0-127).
To select the Program Change message a pad sends, click the PC field within a pad, and type the desired Program Change
number (0-127).
To select the MIDI channel over which all of the pads send their messages, click the CN field within a pad, and type the
desired MIDI channel number (0-16).
To select how the pad behaves when pressed, click the bottom-most field within a pad, and select one of the two options:
Toggle: The pad "latches"; it sends its message continuously when it is first pressed and stops sending it when it is pressed
Ÿ
a second time.
Momentary: The pad sends its message while being pressed and stops sending it when it is released.
Ÿ
The Pads has four kinds of curves, as shown in the figure.
The horizontal axis represents the force you press, and the vertical axis represents the force
output to the computer.
Curve 0
Editing the Knobs and Sliders
You can set various assignments for each of the four knobs and sliders,
including its CC(0-127) and CN(0-16) message.(The operation method is the
same as the pad)
Tip: See Auto-Populating the Knobs and sliders to learn how to quickly apply
common "patterns" of assignments to the knobs and sliders, sparing you the
time of having to select each assignment manually.
Curve 1
3
Curve 2
Curve 3
