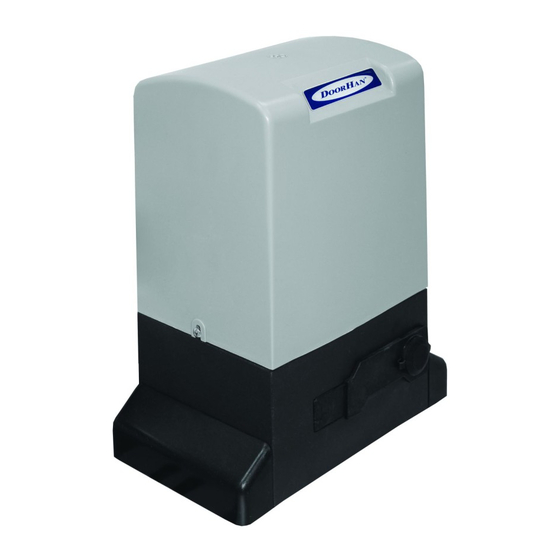
DoorHan SLIDING-1300 Manuale d'installazione e d'uso - Pagina 7
Sfoglia online o scarica il pdf Manuale d'installazione e d'uso per Apriporta DoorHan SLIDING-1300. DoorHan SLIDING-1300 16. Drive
Anche per DoorHan SLIDING-1300: Manuale d'installazione e d'uso (12 pagine), Manuale di installazione e funzionamento (12 pagine)
notes to rack installation
1. M ake sure that when the door moves the racks
do not leave the gear wheel.
2. D o not weld the racks to the bushing or one to
another.
3. I n order to enable proper toothing of the rack and
the gear wheel, lower the operator by ~2 mm.
4. C heck that the door reaches the mechanical stops
and that the door motion produces no friction.
5. Do not grease the rack and the gear wheel.
4.5. Installation of limit switch plates
The SLIDING-1300/2100 operator is equipped with ferreed contacts (magnetically
operated sealed switches) which response for move of the magnet fastened to the rack
and produce the command for door stop.
Install the end magnets in the following order.
1. Unblock the operator (see p. 7).
2. M ove the door by hand in open position leaving 2–5 cm before the me c hanical stop.
3. M ove the open limit switch magnet (red round sticker) along the rack in the direction
of door opening till the magnetically operated sealed switch is off (a corresponding
LED will go off on the control board). Move the magnet another 20–30 mm and fix
it to the rack.
4. M ove the door in closed position leaving 2–5 cm before the mechanical stop.
5. M ove the close limit switch magnet (blue triangular sticker) along the rack in
the direction of door closing till the magnetically operated sealed switches is off
(a corresponding LED will go off on the control board). Move the magnet another
20–30 mm and fix it to the rack.
6. M ove the door in the middle position and block the operator (see p. 7).
7. T o ensure proper operation of the system, leave at least 20 mm between the door
and the mechanical stop in the end opened and the end closed positions of the
door.
8. R un several full operation cycles and check for proper installation of the limit
switches. The operator must stop when reaching the limit switch and at that the
respective LED must go off. Sw2 is a LED of the close switch. Sw1 is a LED of the
open switch.
9. T he distance from the limit switch to the magnet of the limit switch must not exceed
5 mm.
note!
After you adjust the end positions, make sure that the limit switches work as they should, after their actuation the
respective indicator on the control board must go out. If the indicator lamp does not go out, repeat the adjust m ent.
Rack
Ground level
Close limit switch
синий
open limit switch
InstallatIOn
Gear wheel
синий
blue
red
красный
7