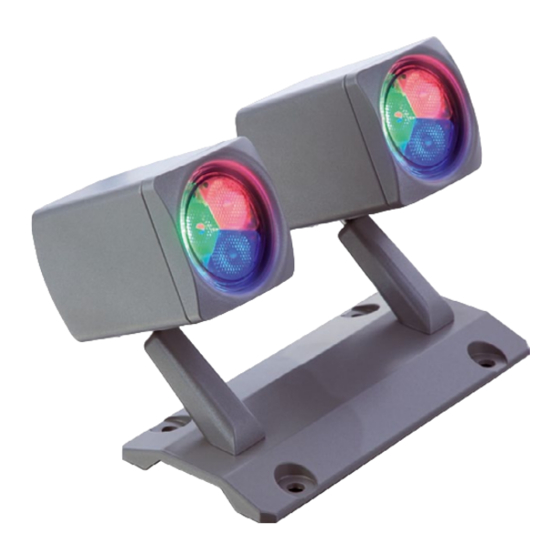
Astralpool QUADRALED Manuale di installazione e manutenzione - Pagina 2
Sfoglia online o scarica il pdf Manuale di installazione e manutenzione per Illuminazione della piscina Astralpool QUADRALED. Astralpool QUADRALED 17. Rgb light
Anche per Astralpool QUADRALED: Manuale (17 pagine)

ENGLISH
IMPORTANT: The instruction manual you are holding includes essential information on the safety measures to be
implemented for installation and start-up. Therefore, the installer as well as the user must read the instructions before
beginning installation and start-up.
Keep this manual for future reference.
To achieve optimum performance of the QUADRALED light, follow the instructions provided below:
1. VERIFY THE CONTENTS OF THE PACKING:
The following accessories are included inside the box:
Unit Floodlamp
Bag with wall plugs and screws
Installation and maintenance manual
Manual for electrical connection
2. GENERAL CHARACTERISTICS:
This projector has been designed to be used in fountains, waterfalls, trees, monuments, as a wall fitting, in gardens, public
spaces and in town planning. It can be installed indoors or outdoors. It is a Class III electric apparatus with very low safety
voltage.
The floodlamp complies with IP67 degree of protection (No ingress of dust ; Ingress of water in harmful quantity shall not
be possible when the enclosure is immersed in water under defined conditions of pressure and time (up to 1 m of
submersion).
The projector complies with the following international luminaire safety standards, EN 60598-1; LUMINAIRES. PART 1:
GENERAL REQUIREMENTS; EN 60598-2-1 LUMINAIRES. PART 2: SPECIFIC RULES. SECTION ONE: GENERAL USE
FIXED LUMINAIRES; EN 60598-2-18: LUMINAIRES PART 2: SPECIFIC REQUIREMENTS SECTION 18.
3. INSTALLATION:
Place the projector on a flat surface. Make sure the base of the projector is safe on the mounting location.
Mark the anchorage point on the floor. (Fig. 1)
Drill Ø 10 mm holes.
Place the plugs and fasten the base with the screws supplied (Fig. 2)
To change the angle of the projector, loosen the bolt at the back of the projector with a 2.5 allen
wrench, direct it manually and tighten the bolt.
Attention:
• Ensure the body of the projector is located in an accessible place for easy handling, or make
sure it is easily removable.
• Before any handling ensure that there is NO voltage supplied to the projector.
4. MAINTENANCE:
This projector does not require any type of maintenance. If the projector is not working properly, please contact our
customer attention department.
THIS PRODUCT DOES NOT CONTAIN ANY ELEMENTS THAT CAN BE HANDLED, DISMANTLED OR REPLACED BY THE
USER. IT IS FORBIDDEN TO ACCESS INSIDE THE PRODUCT, OTHERWISE THE GUARANTEE OF THE PRODUCT WILL
5. SAFETY WARNINGS:
• People in charge of assembly should be suitably qualified for this type of work.
• Avoid making contact with the electric voltage.
• Comply with the current standards regarding accident prevention.
Fig. 1
BECOME INVALID.
Fig. 2
2
