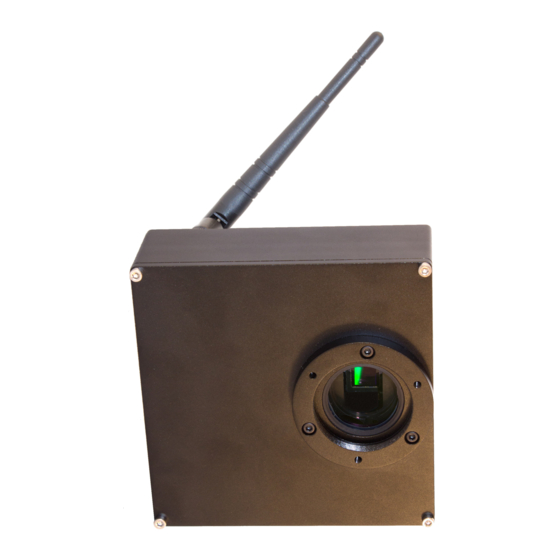
Astrel Instruments AST183X Manuale d'uso passo dopo passo - Pagina 3
Sfoglia online o scarica il pdf Manuale d'uso passo dopo passo per Fotocamera digitale Astrel Instruments AST183X. Astrel Instruments AST183X 4. Mounting filters
Anche per Astrel Instruments AST183X: Come iniziare (19 pagine)

Astrel Instruments
Filters mounting step by step
WARNING:
Do all the operation in a clean and dry ambient.
1. Before opening the air valve to remove the vacuum, always insert the vacuum pump into
the camera air valve and make vacuum on the connecting tube: using the vacuum pump
to fill air into the camera helps to avoid the air water vapor to condensate into liquid water
inside the camera
2. open the air valve
3. remove the vacuum by lightly pressing the button below the nose of the vacuum pump
4. remove the four screws that fix the top of the camera on its body
5. open the camera box
6. remove the o-ring from its site; put the oring on a clean place and camera body with its
opening toward the table in order to avoid dust entering into it
7. take the camera top and remove the screw that hold fix the wheel on it.
8. remove the wheel
Each filter is blocked by two plastic caps fixed by a screw and if needed also a plastic ring.
Depending on the filter's thickness, you have to use different ways to fix the filters on the wheel,
like in the picture below:
Mounting Filters UG
3/4
AST-8300-X AST-183-X
rev A
