Flying Dog Grape Gym-Star Manuale - Pagina 4
Sfoglia online o scarica il pdf Manuale per Giocattolo Flying Dog Grape Gym-Star. Flying Dog Grape Gym-Star 8.

6.
150mm
165mm
6.
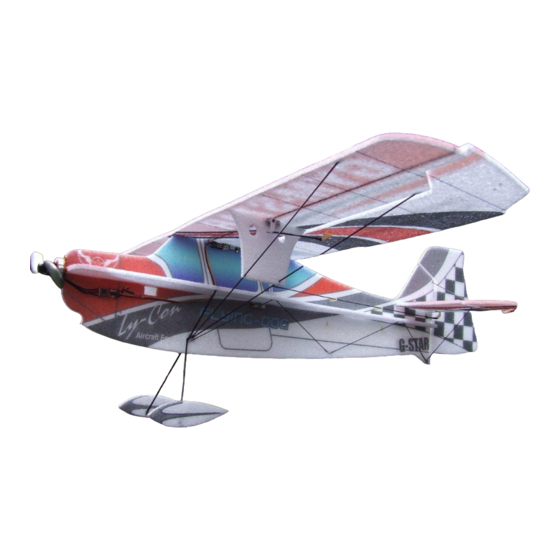
Cut the 2mm carbon rod into 200mm lengths. Slit
the foam and insert the rods to form the under-cart.
4
Fix with medium CA.
7b.
Don't fix with glue just yet. Work your way down
the fuselage, inserting carbon stiffeners in the same
configuration as the picture.
When completed, check the whole thing is square
and straight and adjust accordingly. When you are
satisfied it's true, fix each joint with medium CA.
There are various configurations for the aileron
servo/servos on the Gym-Star. Although not
necessarily the most aesthetically pleasing, probably
the easiest way is to simply mount the servo on top
of the wing! If, however, you do want a cleaner look,
it can also be mounted under - though this is a little
more fiddly.
The final option is to use two servos for the ailerons,
which then gives you the facility to adjust the
differential and use flap mixes, etc.
The first (on top of the wing) option is pretty straight
forward, so we'll deal primarily with the latter two.
8.
Underwing Servo: Position the servo (spline
forward) onto the upper vertical fuselage and cut
around it so the servo is a tight fit into the foam.
Remove the servo, attach it to the RX and centre it.
With a double horn fitted, CA on the supplied horn.
When the CA is set, the arm can then be secured by
frapping with cotton/thread soaked in CA.
Push the servo back into the fuselage, check the
horn moves freely and attach the wing. Attach a Z
bend to a piece of 2mm rod and with it fitted to the
servo horn, with the pushrod at 90 degrees (see
picture 9) cut it to length, so the end of the rod is
directly over the hinge line. Repeat for the other side.
4
Use the dimension provided rather than going by the photo – we'll let you guess why ☺
7a.
7a.
Cut two pieces of 1mm carbon rod into roughly
130mm lengths and insert into slits cut with a scalpel
starting from the under-cart.
7b.
8.
Remove the pushrods and secure the aileron horns
using heat shrink. With the pushrods refitted, mark
and cut slits for the aileron horns.
Do not glue the horns into the ailerons at this stage;
once the wing and bracing have been fitted the horns
can be adjusted in the slits to centre the ailerons
before fixing with CA.
3
