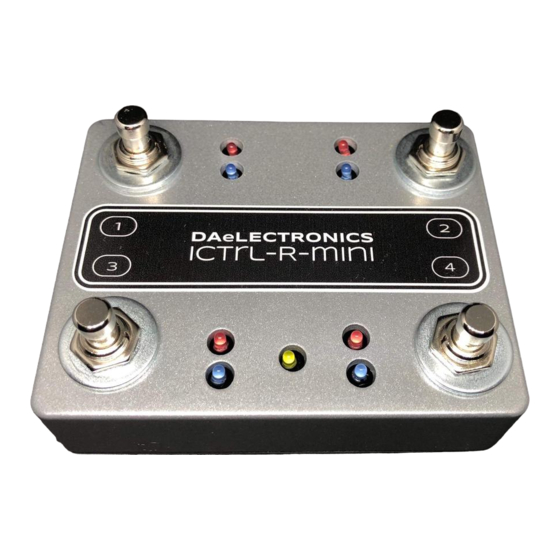
DAELECTRONICS iCtrl-R-mini Manuale operativo - Pagina 3
Sfoglia online o scarica il pdf Manuale operativo per Apparecchiature di registrazione DAELECTRONICS iCtrl-R-mini. DAELECTRONICS iCtrl-R-mini 8. Pocket midi controller
Anche per DAELECTRONICS iCtrl-R-mini: Manuale operativo (8 pagine), Manuale operativo (8 pagine), Manuale operativo (8 pagine)

Warning
Before you start to use the the
iCtrl-R mini
damage it irreparably!!!
Calibration
Before you start using the Expression pedal (the pedal shall ALWAYS be disconnected/connected to the controller before energizing the controller
itself) you need to activate the "Calibration" by pressing the switch 1 in mode 1 until the rapid flashing of the LED 5.Immediately after entering
the calibration mode, depress the pedal backwards to the minimum heel setting then sweep to the maximum toe setting, this will ensure you
calibrate your pedal with the
iCtrl-R mini
activated and the pedal can begin to communicate properly with the iPad (tested with Amplitube and Jamup & Bias FX) or even a PC/MAC (tested
with Guitar Rigand Amplitube & Bias FX) or other MIDI device. The default MIDI channel for
The calibration values will be stored until the next calibration.
At the start up the controller is set on mode 1. To switch back to mode 1 from a different one please hold switch 1 for approx 1 second until led 1
blinking.
Now we can send midi messages as follows:
PRESETS SELECTION
Preset 1 – PRESET UP > click and release switch 1
Preset 2 – STOMP/SNAPSHOT > click and release switch 2 (Midi CC 71 - Value 0-3)
Preset 3 – PRESET DOWN > click and release switch 3
Preset 4 – TUNER > click and release switch 4 (Midi CC 68 - Value 0-127
Preset 5 – ANALOG BYPASS> long click and release switch 2 (Midi CC70 - Value from 0 to 127)
pay much attention when insert and remove your USB cable from the iCtrl-R Mini input. You could
. Now pressing one of the switches of
MODE 1
Main Mode
LED 1 will blink, mode 1 will be
iCtrl-R mini
is the #1.
iCtrl-R mini
2
