Dorma C500 Istruzioni per l'installazione - Pagina 2
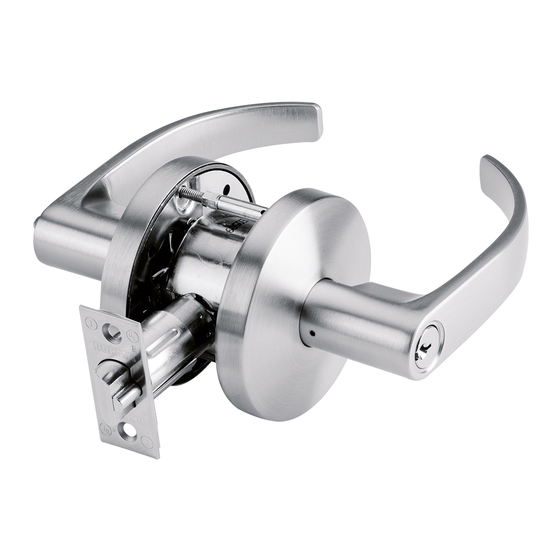
Sfoglia online o scarica il pdf Istruzioni per l'installazione per Serrature Dorma C500. Dorma C500 2. Cylindrical leverset
Supplementary Instructions
I. C570 - Classroom function
TIMING INSTRUCTIONS: Install lock on door. Remove outside lever and cylinder (for
Interchangeable Core locks, leave lever in place and remove core and tail piece)
OUTSIDE OF DOOR:
Rotate key spindle fully counter-clockwise. Install cylinder and lever.
(See steps 4 & 5 in section IV.)
IV. Removing & reassembling standard cylinder lever (cylinder changes)
Removal
1. Remove the outside lever by inserting
the key, turn clockwise and hold at 90°.
Using the pick, depress the lever catch
through the pick hole and remove the
lever. Remove the key. (Figure 1a & 1b)
2. Remove the lever insert and cylinder.
(Figure 2)
Reinstallation
3. Replace with new cylinder and reinstall
the lever insert. (Figure 2)
Be sure the tailpiece is horizontal.
4. Press the outside lever onto the
spindle until it contacts the lever catch.
(Figure 3)
5. Insert the key into the cylinder, turn
clockwise and hold at 90°. Press the
lever fully onto the spindle until
it clicks into place. Release the
key. (Figure 3)
Lever
catch
76011629 05/15
II. C580 - Storeroom function
NOTE:
Storeroom function has a pushbutton on the inside spindle. A closed lever is
used for the inside to hold the button in a locked position.
Key
spindle
spindle
Pick hole
Tailpiece
(horizontal)
Figure 2
90°
Figure 1a
Pick
Figure 1b
Figure 3
Inside
Pushbutton
Closed inside
lever
V. C501 Dummy trim installation
1. Remove the temporary screw from
the back of the dummy spring cage and
separate the lever.
2. Separate the rose and the dummy
spring cage.
3. Secure the dummy spring cage to the
door using the two combo screws.
Cylinder
4. Press the rose onto the dummy spring
Lever
cage and rotate to lock the rose in
insert
place.
NOTE: Be sure the rose notches
are properly in line with the spring
cage notches.
5. Install the washer (beveled side out)
onto the 1/4-20x2-1/2" screw
and secure the lever through the
opposite side of the door.
90°
III. Removing & reassembling interchangeable core lever
Removal
1. Insert the control key into the IC core,
rotate the key 15° clockwise, and remove
the core and tail piece from the lever.
2. Using a fl athead screwdriver, retract the
lever catch inside the spindle and remove
the lever.
Reinstallation
NOTE: REMOVE the spring from the
IC cylinder tailpiece for 7 pin cores
ONLY.
3. Press the lever onto the spindle until it
snaps into place.
4. Install the tail piece on the core.
Insert the control key into the core,
rotate the key 15° clockwise, push the
Lever catch
core fully into the lever and turn counter
IC core lever
clockwise 15 ° (home position), and
remove the key.
on
Dummy
d
spring
cage
Rose
Spring cage
notches
Rose
notches
Lever
IC core lever
IC core
with
tailpiece
IC cylinder
tailpiece
IC core
1/4-20x2-½ "
screw
Washer
Temporary
screw at back of
dummy spring
cage
www.dorma.com